Common Passport Photo Questions Answered
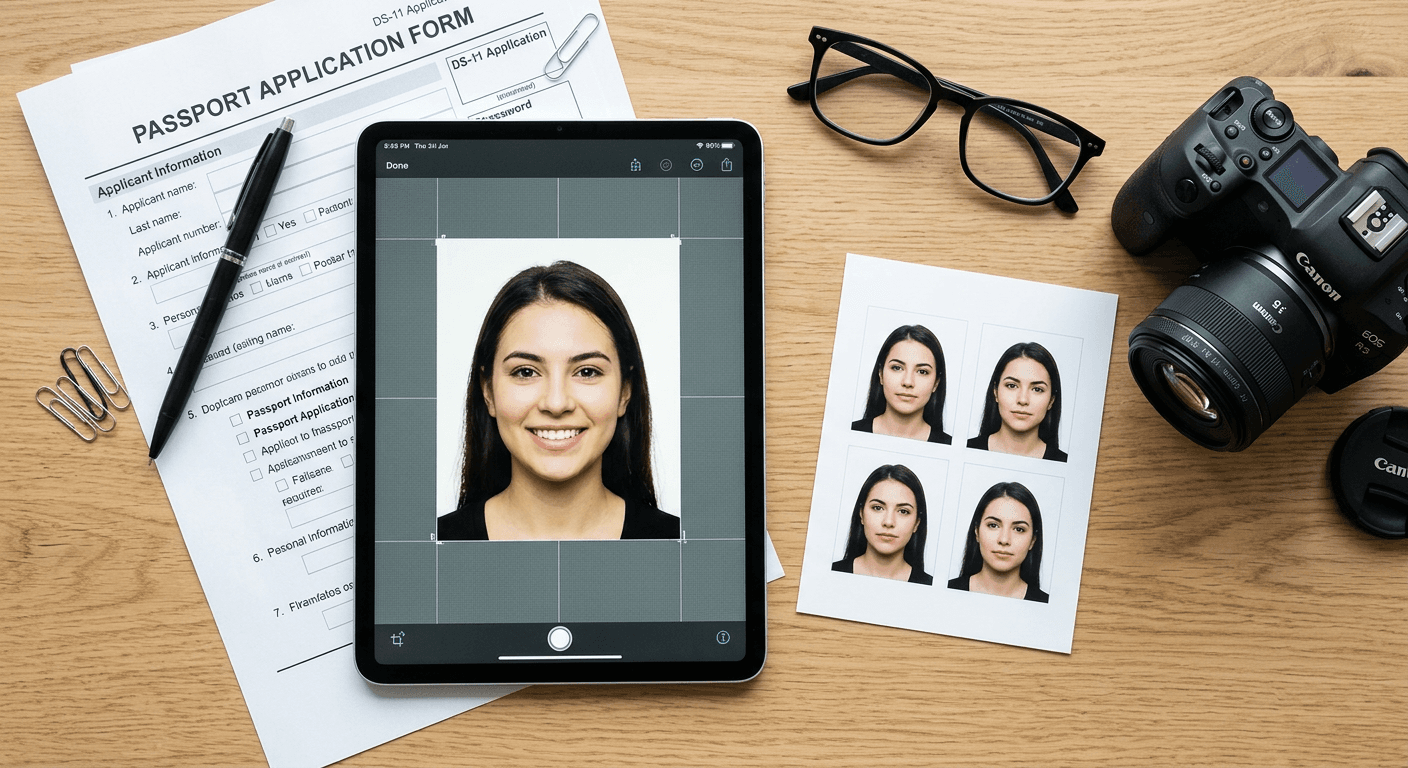
Navigating the specific requirements for passport pictures can be a source of significant frustration for travelers, as even minor deviations from official standards often result in application delays. Understanding the precise interplay between lighting, facial positioning, and print quality is essential to ensuring your documentation is processed without unnecessary setbacks.
Quick Summary
Passport pictures must adhere to strict international standards regarding size, lighting, and composition to ensure facial recognition accuracy. Using a reliable passport photo tester is the most effective way to verify compliance before submission.
- Ensure a neutral facial expression with both eyes open.
- Utilize plain white backgrounds to avoid shadows or patterns.
- Select high-quality matte or glossy photo paper based on local guidelines.
- Maintain proper head positioning centered within the frame.
Table of Contents
- Understanding Passport Picture Standards
- The Role of a Passport Photo Tester
- Biometric Passport Photo Mechanics
- Color Passport Photo Best Practices
- Surface Quality: Should Passport Photos Be Glossy or Matte
- Common Pitfalls and How to Avoid Them
- FAQ
- Recommended Reads

Understanding Passport Picture Standards
Official identification documentation requires highly standardized imagery to facilitate digital and manual verification. Every country maintains its own specific dimensions and composition rules, but the global consensus leans toward uniformity. A high-quality image must feature a clear, high-resolution portrait that shows the subject from the chest up, typically with a specific ratio of head-to-frame space.
When capturing your own photos, consistency is the primary goal. Backgrounds must be uniform, typically white or off-white, and completely free of texture, shadows, or secondary objects. Proper lighting is equally critical; it should be evenly distributed across the face to prevent dark spots or harsh glares that could obscure facial features. You can find comprehensive resources for capturing compliant photos for infants at https://passportphotomaker.us.com/guide/us-baby-passport-photo to help avoid common alignment mistakes.
The Role of a Passport Photo Tester
A passport photo tester acts as a critical quality control gate. These tools analyze your uploaded image against the technical requirements of the issuing authority. By checking for issues like overexposure, incorrect head size, or background noise, you significantly reduce the risk of rejection upon application submission.
Advanced testers use geometric algorithms to measure the distance between the chin and the top of the hair, ensuring the subject occupies the correct percentage of the frame. If you are unsure whether your home-captured shot meets the bar, consulting a dedicated online passport photo guide can provide clarity on the specific regional adjustments required for your target country.
Pro Tip: When using an automated tester, ensure your environment has natural, diffused light. Artificial lighting often creates "hot spots" on the forehead or nose, which automated systems frequently flag as invalid.
Biometric Passport Photo Mechanics
Modern travel documents are equipped with biometric data, making the quality of your photo more than just an aesthetic choice. A biometric passport photo serves as the foundation for facial recognition software at border checkpoints. Any manipulation, such as digital retouching to remove blemishes or adjust facial structures, can cause these systems to fail, leading to significant delays at airport security.
To ensure biometric compatibility, you must maintain a neutral, closed-mouth expression. The eyes must be open and clearly visible without obstruction from glasses or hair. The lighting must be uniform, ensuring that there are no shadows cast across the face, as these shadows can be misinterpreted by algorithms as structural changes to the facial features.
Color Passport Photo Best Practices
While some older, black-and-white images might still exist in legacy systems, current regulations mandate a high-quality color passport photo. This requirement ensures that skin tone and hair color are accurately captured for identification purposes. The color balance should be natural; overly warm (yellowish) or cold (bluish) color temperatures are grounds for rejection.
When printing your photos, ensure your printer is calibrated correctly. Standard office printers often struggle to reproduce the depth required for skin tones. If you are preparing photos for international travel, checking specific country requirements—such as those detailed at https://passportphotomaker.us.com/guide/uk-baby-passport-photo - will help you understand if there are unique color saturation rules for your specific nationality.
Surface Quality: Should Passport Photos Be Glossy or Matte
Choosing between a finish often confuses applicants, but the industry standard generally favors one over the other. When asking "should passport photos be glossy or matte", the consensus for most countries is a matte or a satin finish. Glossy photos are prone to light reflection, which can create glares that interfere with the readability of the document under scanner lamps.
However, some countries have specific preferences that deviate from this norm. Matte paper is generally preferred because it does not reflect flash or ambient light. If you are printing at home, avoid photo papers that are highly reflective or textured, as these can obscure the details of your biometric data. Always confirm your local government requirements if you have doubts about the surface finish.
Common Pitfalls and How to Avoid Them
Most application rejections are preventable. The most common errors include wearing glasses (which often cause reflection), having distracting shadows on the background, and incorrect head tilt. Even a slight turn of the head can distort the facial mapping, making it impossible for the passport authority to verify your identity correctly.
Another frequent error is the lack of contrast between the subject and the background. If you are wearing light-colored clothing against a white background, your shoulders may blend into the wall, causing the photo to be rejected for improper framing. By reviewing your work with an international passport photo tool, you can catch these subtle errors before you commit to printing a batch of photos.
FAQ
Can I smile in my passport photo? Generally, no. Most countries require a neutral, closed-mouth expression. A smile can distort the biometric landmarks of your face.
Do I have to remove my glasses? Yes, most modern passport regulations strictly prohibit eyeglasses in photos to avoid reflections and eye obscuration.
What if my hair covers my eyes? Your hair should be styled away from your face so that both eyes are clearly visible. If your hair covers your eyebrows or eyes, the photo will likely be rejected.
How recent should my photo be? Most authorities require photos taken within the last six months to ensure the image accurately reflects your current appearance.