Essential Passport Photo Tips for Guaranteed Compliance in 2026
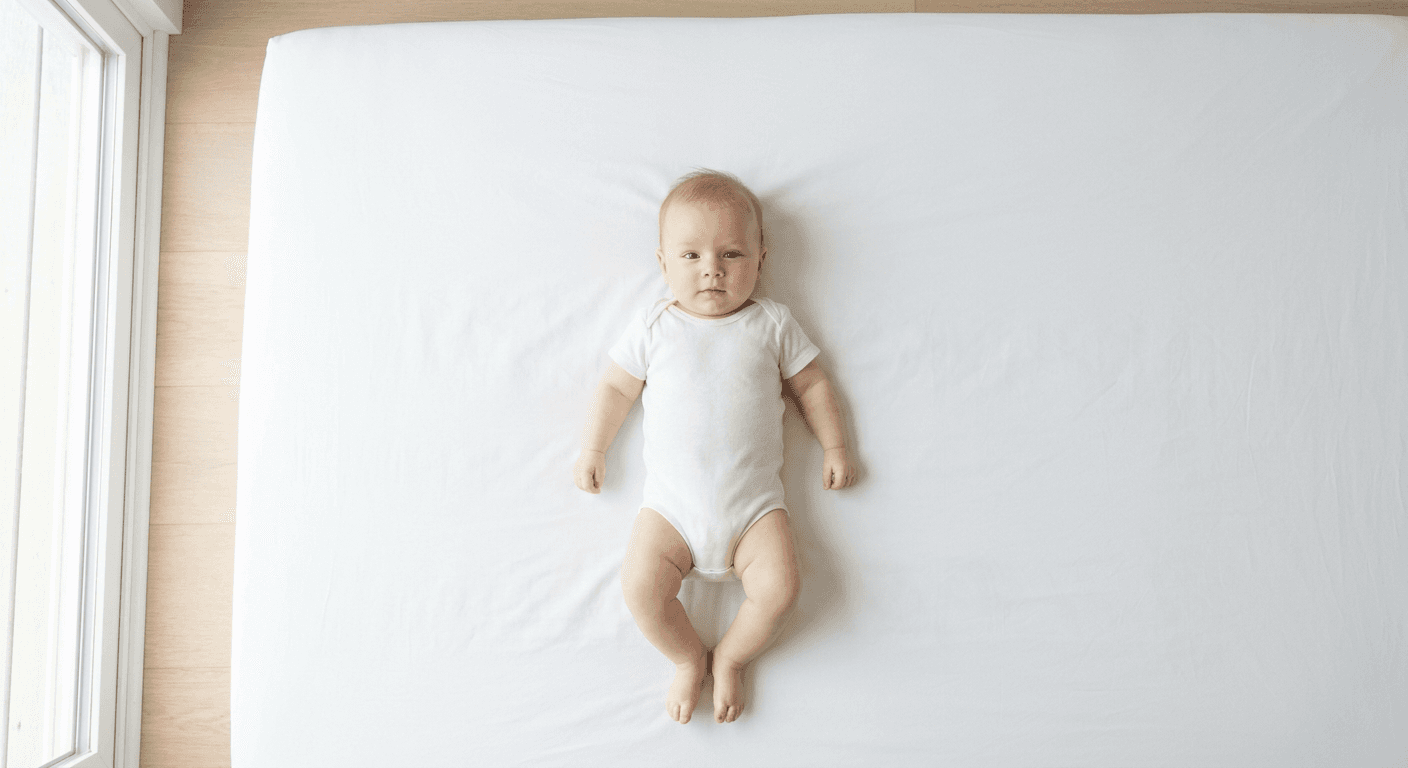
Taking a government-compliant photo for an infant or child can be a stressful experience for parents, primarily due to the stringent requirements enforced by international passport agencies. Unlike adults, who can easily follow instructions, infants require a different approach to ensure their face is clearly visible, the background is plain, and their expression is neutral. Mastering the best way to take a passport photo at home involves controlling environmental factors and understanding the specific biometric criteria that authorities demand.

Quick Summary
Achieving a government-compliant passport photo requires a neutral expression, uniform lighting, and a plain, light-colored background. By using a high-resolution smartphone camera and maintaining specific head-to-chin proportions, you can create a professional-grade image that meets international biometric standards while avoiding the stress of traditional photo studios.
- Ensure even, shadow-free lighting on the subject's face.
- Maintain a neutral expression with eyes open and visible.
- Use a plain, off-white or white background without textures.
- Verify head-to-chin height against specific country guidelines.
Table of Contents
- Quick Summary
- Mastering Lighting Techniques
- Ensuring Correct Posture and Expression
- Technical Specifications and Framing
- Common Pitfalls and Troubleshooting
- FAQ
- Recommended Reads
Mastering Lighting Techniques
Lighting is the most significant factor in whether a passport photo is accepted or rejected. The objective is to achieve even, flat lighting across the entire face, minimizing shadows that could obscure facial features or create "hot spots" on the skin. Avoid using a direct camera flash, as this often results in harsh glare on the forehead or red-eye, both of which are grounds for rejection.
The best way to take a passport photo is to position your subject facing a large, natural light source, such as a window during daylight hours. Ensure the light is coming from directly in front of the infant rather than from the side, as side-lighting creates deep shadows under the nose and chin. If natural light is unavailable, use soft, diffused artificial lighting placed at eye level, ensuring the subject's face is evenly illuminated.
Ensuring Correct Posture and Expression
Passport authorities are strict regarding facial expressions and head positioning. For infants, the primary challenge is achieving a "neutral" look. While a perfectly stoic face is not always possible for a newborn, the mouth must be closed, and the eyes must be open and clearly visible. Avoid photos where the child is crying, laughing, or holding toys, as these will likely be flagged by automated biometric verification systems.
To manage posture, place the child on a plain, light-colored sheet or blanket on the floor to capture the image from above. This perspective allows you to ensure the child is lying flat without the need for support, keeping the head level and the shoulders parallel to the camera. If you are taking a photo of an older child, have them sit in a chair against a plain wall, ensuring they are facing the camera directly without tilting their head to the side.
Technical Specifications and Framing
Every country has specific requirements regarding the size of the photo and the proportion of the head within the frame. Most standard passport photos require the head to occupy a specific percentage of the total image area, usually between 50% and 70%. When using a smartphone, do not use the zoom function, as this reduces image quality and resolution; instead, move closer to the subject to frame the shot correctly.
Maintaining high resolution is critical for biometric compliance. After capturing the image, ensure that no background objects, shadows, or other people appear in the shot. You can use specialized tools to verify your image against the United States Baby Passport Photo Guide to ensure that the final file meets the required DPI and dimensions. This preparation ensures that the digital file is crisp, clear, and ready for printing or submission.
Common Pitfalls and Troubleshooting
One of the most frequent reasons for rejection is the presence of shadows on the background. Even a small shadow caused by the child's head or a piece of furniture behind them can lead to an automatic decline. Always check the background after taking the photo to ensure it is completely uniform and free of creases or folds.
Another common mistake is failing to remove obstructions. Ensure the child's hair is not covering their eyes or forehead and that they are not wearing hats, headbands, or heavy accessories. For infants, make sure their hands are not near their face, as this can obscure features that the facial recognition software needs to map. If the photo is rejected, review the specific rejection criteria provided by your local passport office and adjust your setup accordingly for the next attempt.
Pro Tip: If your infant is having trouble staying still, wait until they are drowsy or just after a feeding session. A calm, resting baby is significantly easier to photograph in a neutral, face-forward position than one who is alert and looking around.
FAQ
- Can my infant smile in a passport photo? No, passport regulations require a neutral expression with a closed mouth. While infants are sometimes granted a slight leniency, it is best to aim for a neutral face to avoid rejection.
- What should I do if there is a shadow behind my baby? Move the subject further away from the background surface or adjust your lighting source to be more diffuse, which helps to eliminate harsh shadows behind the subject.
- Can I wear glasses for the passport photo? Most countries, including the US, prohibit wearing glasses in passport photos to prevent glare and frame obstruction. It is safest to remove them entirely.
- What is the best background color? A plain, white or off-white background is the industry standard. Ensure the background is completely clear of patterns, textures, or shadows.