Expert Tips for Getting the Best Passport Photo
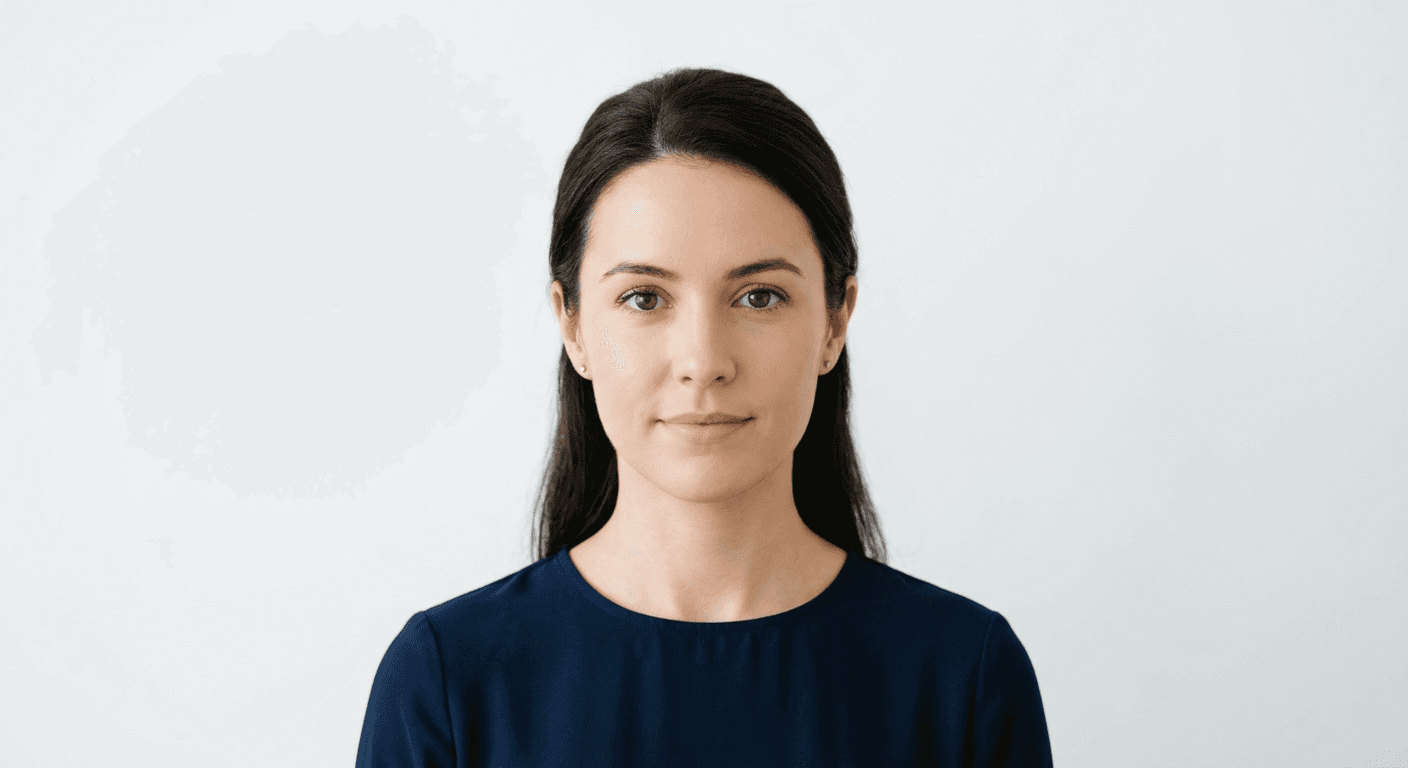
Achieving a professional-grade image that complies with strict government regulations is the primary challenge when learning how to get the best passport photo. Because biometric identity verification systems are increasingly sensitive to lighting, expression, and positioning, the margin for error is razor-thin. Whether you are capturing a standard adult portrait or require guidance on specialized procedures like a <a href="https://passportphotomaker.us.com/guide/us-baby-passport-photo">US baby passport photo</a>, understanding the mechanics of lighting and camera geometry is essential for a successful application.
Quick Summary
The best way to take a passport photo is to utilize consistent, diffused lighting against a plain, off-white or white background while maintaining a neutral expression. Adhering to specific technical requirements ensures your application is processed without delays.
- Use natural, soft lighting to avoid harsh shadows.
- Maintain a neutral, closed-mouth expression with eyes clearly visible.
- Position the camera at eye level, approximately five feet away from the subject.
- Ensure there is even lighting across the entire face, including the ears.
Table of Contents
- Preparing for the Passport Photo Session
- Optimizing Lighting and Camera Settings
- Step-by-Step Guide to Taking the Photo
- Common Pitfalls and Troubleshooting
- Frequently Asked Questions
- Recommended Reads

Preparing for the Passport Photo Session
Preparation is the most critical phase in determining the quality of your submission. Before setting up your equipment, ensure the subject is dressed in everyday attire that does not include uniforms, hats, or head coverings, unless worn daily for religious purposes. Jewelry should be minimal, as it can cause distracting glare if hit by direct light, potentially leading to an automated rejection by border control systems.
Additionally, examine the background requirements for your specific jurisdiction. While most countries require a plain white or off-white background, the exact tolerance for shadow varies. Using a clean wall is generally superior to using a hanging sheet, which may wrinkle and create unwanted patterns. You can explore a detailed <a href="https://passportphotomaker.us.com/guide">passport photo guide</a> to understand country-specific nuances before you begin the process.
Optimizing Lighting and Camera Settings
The best way to take a passport photo involves mastering light diffusion. Harsh, direct light from a single source causes "hot spots" on the forehead or nose and deep shadows under the eyes and chin. To achieve an even distribution, face a window during daylight hours or use a softbox light kit placed at a 45-degree angle to the subject. Avoid using the built-in flash on your camera, as it is almost guaranteed to create high-contrast shadows against the background.
Regarding camera settings, avoid using wide-angle lenses or portrait modes that rely heavily on artificial bokeh or background blurring. These features can distort facial features or cause software to flag the photo for improper processing. Maintain a distance of about five feet to keep the face proportional and sharp. If you are struggling with these technical hurdles, professional tools are available at <a href="https://passportphotomaker.us.com">passport photo maker platforms</a> that can automatically adjust the dimensions and lighting balance to meet international standards.
Step-by-Step Guide to Taking the Photo
- Select a location with a neutral wall and no obstructions. Ensure there is plenty of ambient light.
- Position the subject standing roughly 12 to 18 inches away from the wall to prevent shadows from appearing directly behind them.
- Set the camera on a tripod at eye level. Avoid holding the phone or camera at an angle, as this changes the perceived perspective of the face.
- Direct the subject to look straight into the lens with both eyes open. The mouth should be closed, and the expression should be neutral-do not smile, as this can obscure biometric features.
- Capture multiple shots to account for micro-movements. Review the images on a computer screen to check for red-eye or uneven lighting before finalizing your choice.
Pro Tip: If you are capturing a photo for an infant, place them on a plain white sheet on the floor and stand above them to get the shot, ensuring the camera is perfectly parallel to their face to avoid distortion.
Common Pitfalls and Troubleshooting
One of the most frequent reasons for rejection is "glare." This often occurs when a person wears glasses. While many authorities now require glasses to be removed, if they are allowed, you must ensure the lenses do not reflect light. If your photo has glare, adjust the angle of the light source or shift the subject's head slightly until the reflection disappears from the lenses.
Another common mistake is the "cropping" error. Many people crop the photo too tightly around the head, excluding the necessary clearance above the hair or leaving too much space. Ensure the head occupies the correct vertical percentage of the frame as specified by your local government standards. If the photo is improperly sized, you may need to use resizing software to maintain the aspect ratio without stretching the image, which would render the biometric data invalid.
Frequently Asked Questions
Can I wear glasses in my passport photo? Most countries have moved toward a strict no-glasses policy for passport photos to ensure clear visibility of the eyes. Unless you have a medical certificate, it is strongly recommended to remove them to avoid rejection.
What is the best way to get a passport photo if I am not tech-savvy? If you lack the equipment or confidence to capture the photo yourself, visit a professional print shop or an authorized postal service. They are equipped with the correct lighting and printing standards.
How do I handle the hair and shadow requirements? Ensure your hair is tucked behind your ears or styled so that your face, including the outline of your features, is fully visible. Shadows on the background are usually caused by standing too close to the wall; moving forward by a foot usually solves this.
Does my head need to be a specific size in the photo? Yes. Each country has a specific head height requirement, usually measured from the bottom of the chin to the top of the hair. Always check your local government's official photo specifications page for the exact measurements.