How to Create an AI Passport Photo at Home Using Your Smartphone in 2026
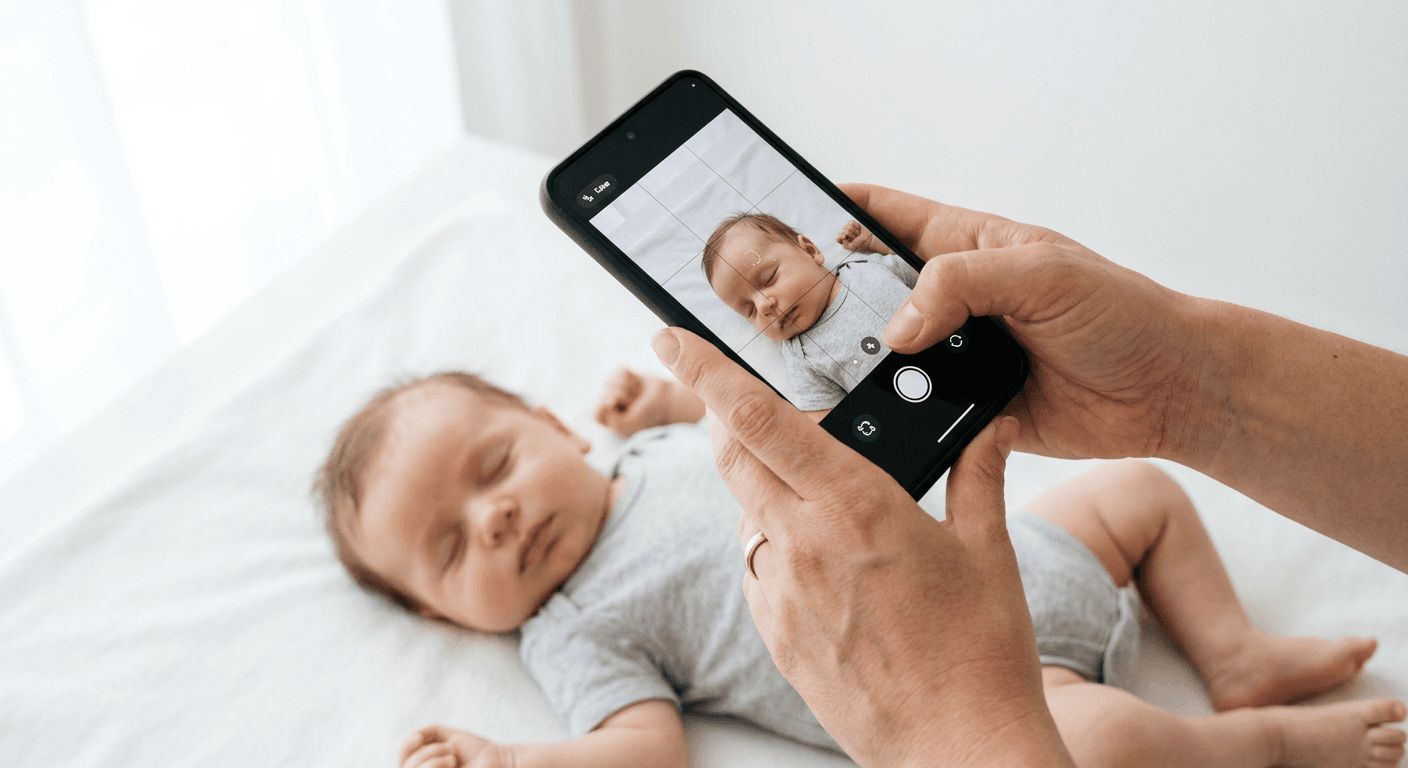
Capturing a valid identity document image can be a stressful process, particularly when managing the strict requirements for infants or busy schedules. Fortunately, modern technology allows you to create an ai passport photo that meets rigorous international standards from the comfort of your own home. By leveraging smartphone hardware and specialized digital processing, you can bypass the inconvenience of traditional photography studios while ensuring your submission remains fully compliant.
Quick Summary
Creating an ai passport photo at home involves using your smartphone to capture a high-quality image that is later processed by software to meet specific government biometric standards. This process ensures correct lighting, dimensions, and background removal, allowing you to take your own passport photo efficiently and reliably.
- Use a plain, neutral background to simplify image processing.
- Ensure even lighting to prevent shadows on the face or background.
- Utilize digital tools to adjust head-to-chin proportions and resolution.
- Validate the final image against official government checklists.
Table of Contents
- Essential Equipment and Environment
- How to Take Your Own Passport Photo
- Refining Your Image with Digital Tools
- Common Pitfalls and Troubleshooting
- FAQ
- Recommended Reads

Essential Equipment and Environment
To successfully take passport photo on phone, you do not need professional studio equipment, but you do need to control your environment. The most critical factor is lighting; harsh overhead lights or side lighting create shadows that will almost certainly lead to a rejected application. Position your subject facing a window during daylight hours to achieve soft, natural, and uniform illumination.
Background selection is equally important. Government guidelines typically require a plain, light-colored background - usually solid white or off-white. If you do not have a blank wall, consider using a large piece of white poster board or a wrinkle-free sheet stretched taut. By controlling these two variables early, you reduce the workload for any software you use to make your own passport photo later.
How to Take Your Own Passport Photo
Following a systematic approach is the best way to ensure your image passes government inspection. Start by placing the subject approximately 3 to 4 feet away from the wall to avoid casting shadows behind them. Use your smartphone's primary camera rather than the front-facing (selfie) camera, as the primary lens offers significantly higher resolution and less image distortion.
- Positioning: Ensure the subject is looking directly at the camera with a neutral expression. Both eyes must be open, and the mouth should be closed. For infants, specialized techniques like using a us baby passport photo guide can help in keeping them still and centered.
- Framing: Do not zoom in using your phone’s digital zoom, as this degrades quality. Instead, move the camera closer to the subject, leaving extra space around the head and shoulders for later cropping.
- Stability: Use a tripod or lean your elbows against a stable surface to prevent motion blur. A sharp image is a requirement for biometric recognition systems.
- Review: Inspect the photo on a large screen immediately to check for glare on eyeglasses or hair obscuring the eyebrows, as these are common reasons for rejection.
Refining Your Image with Digital Tools
Once you have a high-quality raw image, you can take passport photo online by using platforms that specialize in biometric formatting. These tools perform complex tasks like automatic background removal and head-size adjustment. When you choose to make your own passport photo through these services, the software aligns your image to match specific dimensions, such as the 51 x 51 mm size required for the United States or the 35 x 45 mm standard used in other regions.
When using such tools, always verify that the output file meets the required resolution - typically 300 DPI. If you are preparing an australian baby passport photo, ensure the aspect ratio is perfectly maintained during the automated adjustment process. The final file should be saved as a high-quality JPEG to maintain the clarity required for printing at a local retail kiosk or via a professional printer.
Pro Tip: Never use filters, retouching software, or basic editing apps to smooth skin or remove blemishes. Passport agencies treat digital manipulation as an attempt to alter identity, which will result in an immediate rejection.
Common Pitfalls and Troubleshooting
One of the most frequent issues applicants face is the presence of glare on glasses. Even if your glasses are essential for vision, the reflection of the camera flash or window light on the lenses will cause a rejection. It is almost always better to remove glasses entirely for the photo to ensure there is zero obstruction of the eyes.
Another common error is incorrect head positioning. If the subject is tilting their head, or if the photo is taken from a slightly high or low angle, the biometric measurements will fail. If you are struggling with a uk baby passport photo, remember that consistency in the head-to-chin distance is mandatory for the software to accurately verify your submission against the strict national database requirements.
FAQ
-
Can I wear my glasses in my passport photo? No. As of 2026, most government agencies, including the US State Department, strictly prohibit glasses in passport photos to prevent reflections and obstructions.
-
How do I ensure my photo is the correct size? Using professional-grade digital tools to take passport photo online allows you to crop the image to the exact pixel dimensions required by your specific country's passport office.
-
What should I do if the photo is rejected? Review the rejection notice carefully. If the issue is related to formatting, lighting, or background, use a reputable online service that guarantees compliance to re-process your image correctly.
-
Can I take a photo of my baby while they are sleeping? No. The baby must have their eyes open and be facing the camera directly. For tips on managing this, you may refer to canada baby passport photo guidelines.