How to Format an AI Passport Photo from Your Smartphone
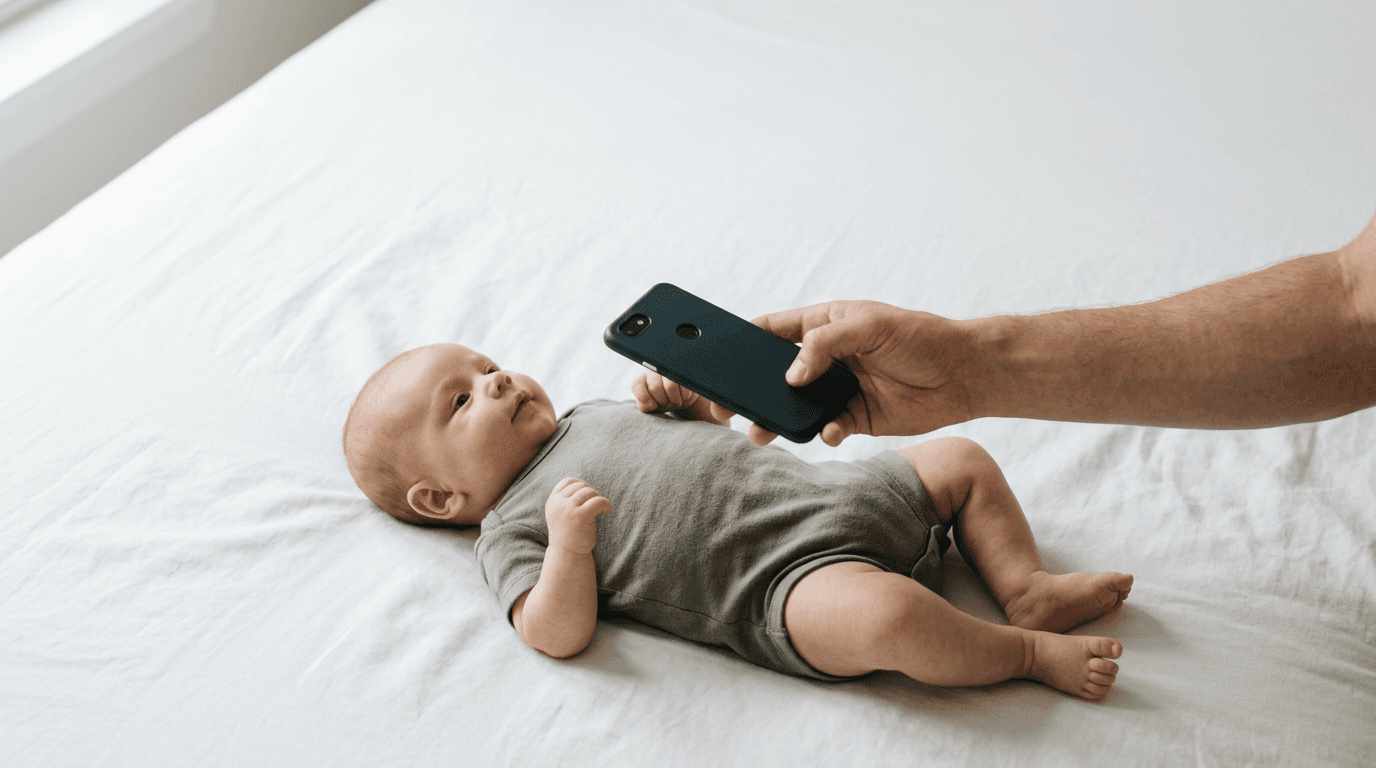
Parents routinely assume a passport photo rejection happens because their infant was crying or looking away. In reality, state department scanning systems rarely evaluate the child's mood. They trigger automatic rejections based on invisible background gradients, a chin-to-crown ratio that misses the 25 - 35 mm biometric requirement by two millimeters, or incorrect resolution settings during printing. You can generate an AI passport photo using a smartphone, bypassing the studio appointment entirely, but the software relies heavily on the raw data you feed it. If you start with a heavily compressed image or asymmetrical window light, the algorithmic background removal will struggle to separate a baby's wispy hair from a dark wall. Getting this right means treating your living room like a strictly controlled capture environment before handing the data over to the formatting algorithms.
Quick Summary
An AI passport photo uses machine learning algorithms to crop, size, and replace the background of a standard smartphone picture to meet strict government biometric guidelines.
- Smartphone cameras introduce hardware lens distortion that algorithms cannot correct if the phone is held too close.
- Algorithmic background removal requires distinct edge contrast between the subject's shoulders and the surface behind them.
- Software handles the mandatory 300 DPI conversion, but you must manually ensure the physical printing kiosk does not auto-scale the final 4x6 sheet.
- Applying smartphone camera filters destroys the pixel-level data required for precise facial edge detection.
Table of Contents
- An AI passport photo corrects formatting, not bad lighting
- 1. Set up the physical capture environment
- 2. Position the infant and capture the image
- 3. Process the file through a passport photo maker
- 4. Print the final sheet for local submission
- Common Pitfalls & Troubleshooting
- FAQ
- Recommended Reads
An AI passport photo corrects formatting, not bad lighting
When you make your own passport photo, the underlying algorithm identifies the specific coordinates of the subject's eyes, nose, and chin to anchor the image. It then applies a geometric matrix to ensure the head occupies precisely the required percentage of the final frame. However, these systems require distinct edge contrast to execute a clean background extraction. If you photograph a child wearing a white shirt against a white wall, the software cannot distinguish the fabric from the surrounding pixels. You will end up with severed shoulders or jagged borders that a passport agency clerk will reject instantly.
Furthermore, digital processing cannot fix hard shadows cast across a face. The software normalizes size and swaps out non-compliant backgrounds, but altering facial illumination requires generative fill, which alters biometric reality and constitutes digital manipulation - an automatic failure. To use an automated US baby passport photo maker successfully, you must provide a flat, evenly lit baseline image that requires zero exposure correction post-capture.
1. Set up the physical capture environment
Taking a compliant image of a newborn or toddler demands a dedicated, flat capture zone, not just a casual snapshot in a highchair. The environment dictates the success of the background removal algorithm. To cleanly separate the subject from the floor or wall, the lens needs even, diffuse lighting that casts no directional shadows.

Shadows dictate algorithmic success
Direct sunlight creates harsh drop shadows immediately behind the head and under the chin. These patches confuse edge-detection software. The program misinterprets a neck shadow as background. This results in a floating head effect once the final file is generated. The most common mistake is placing the baby on textured blankets. Parents also lay them directly on the floor beneath ceiling lights. Overhead bulbs cast deep eye-socket shadows. These mask the biometric markers the state department relies on for facial recognition.
The mechanical fix is to place a flat, plain-colored sheet on a bed directly facing a large window during daylight hours. Ensure the sun is not streaming straight in. You want the ambient, indirect light to wash over the child's face evenly from the front. If you are struggling with a specific country's backdrop rules, reviewing the international baby passport photo requirements and guides provides the precise color codes your setup will eventually be keyed against. If one side of the face reads significantly darker than the other, rotate the bed or use a white piece of cardboard just outside the frame to bounce light back onto the shadowed cheek.
2. Position the infant and capture the image
Modern smartphones default to wide-angle lenses, typically sitting around a 24mm equivalent focal length. This hardware specification captures great landscapes but behaves disastrously for portraiture because it introduces severe barrel distortion when placed near a subject.
Lens distortion and eye level mechanics
If you hold the phone eighteen inches away from a baby's face to fill the screen, the wide-angle lens artificially magnifies the nose and forehead while shrinking the ears. A government scanner will reject this because the facial geometry no longer matches the child's actual proportions. The most frequent failure mode here is a parent hovering directly over an infant and tilting the phone downward. This perspective error changes the visible shape of the jaw and hides the neck entirely.
Before you make a passport photo using a phone, you must back up. Hold the phone at least four to five feet away from the child. Switch to a 2x or 3x optical zoom if your device has one, as this compresses the image and flattens the facial features back into their true proportions. You must shoot perfectly parallel to the child's face - lens exactly at their eye level. For parents navigating stringent federal rules, checking the United States baby passport photo guide confirms exactly where the eye-line must sit. By keeping your distance and shooting straight on, you provide the algorithm with an undistorted, mathematically sound file to process.
3. Process the file through a passport photo maker
Once the raw image is captured, specialized software takes over the formatting burden. A dedicated biometric processor evaluates the image against an international database of passport constraints.
Biometric verification limits
The system immediately scans for a neutral expression, open eyes, and the correct chin-to-crown measurement, which in the United States must sit precisely between 25 and 35 millimeters on a printed two-by-two-inch square. The algorithm digitally extracts the infant's silhouette, discards your living room backdrop, and injects a pure white or off-white layer exactly behind them.
The fatal mistake users make during this step is pre-editing the photo in their camera roll. Applying an iOS portrait mode blur, adjusting the contrast, or using a skin-smoothing filter destroys the pixel-level data the AI relies on to find the edge of the hair. Portrait mode introduces a synthetic blur that bleeds over the ears, causing the background removal tool to sever parts of the child's head.
Practical rule: Upload the completely raw, untouched camera file directly to the formatting platform, ensuring no smartphone filters or crop tools have compromised the pixel density.
Because automated software can occasionally struggle with wispy blonde hair against light walls, choosing a provider that includes a 100% refund policy ensures you carry no financial risk if the final output fails a clerk's manual inspection at the post office.
4. Print the final sheet for local submission
Digital processing concludes by generating a 4x6 inch image template containing two identical passport photos. This file is tagged at 300 DPI (dots per inch), the absolute minimum resolution required by government agencies to prevent pixelation during passport scanning.
Hardware scaling errors
Transitioning this perfectly formatted digital file into a physical photograph requires a specific printing method. Home inkjet printers frequently bleed ink along the edges of the paper, creating soft borders that fail manual review. You must use a dye-sublimation printer at a local pharmacy or photo center, which bonds dry ink to glossy photo paper for a razor-sharp finish.
The most common technical failure occurs at the printing kiosk itself. Pharmacy software routinely defaults to a "Fit to Page" or "Smart Crop" setting to ensure standard vacation photos fill the paper without white borders. If left checked, this setting microscopically enlarges or shrinks the 4x6 digital template to match the printer's specific paper roll margins. A mere 3% magnification at the kiosk ruins the precise 25-35 millimeter head sizing established by the software. When setting up the print job, you must manually override the kiosk settings, forcing the machine to print the file at exactly 100% scale without border adjustments. If you require specific passport photo help before printing, consulting a specialized help center can clarify how the digital template aligns with standard pharmacy paper stocks.
Common Pitfalls & Troubleshooting
Even with a perfectly lit room and strict adherence to formatting rules, subtle errors manifest during final assembly. These failures often look identical - a flat rejection at the post office - but stem from completely different root causes. You must accurately diagnose the failure to apply the correct fix.
The floating head effect (Edge Bleed)
Symptom: The child's neck or shoulders disappear into the background, making the head look entirely disconnected on the final print. Real Cause: This is the most frequent root cause of background-removal failure. The subject was wearing a white or light gray shirt that matched the brightness of the wall behind them. The software could not separate the fabric from the wall. Fix: Reshoot the image with the child wearing a high-contrast, dark-colored shirt. The algorithm needs a hard color transition to map the shoulders.
Asymmetrical lighting rejection
Symptom: The application is rejected for "uneven illumination," despite the room seeming bright during capture. Real Cause: The light source was directional. If a window is directly to the child's left, the right side of the nose and right cheek will fall into a micro-shadow. State department scanners interpret this shadow as a facial deformity or biometric mismatch. Fix: Position the child directly facing the light source. If a shadow remains, hold a white towel or piece of poster board just out of frame on the shadowed side to bounce ambient light back onto the face.
Compression artifacting from messaging apps
Symptom: The printed image looks grainy, fuzzy, or jagged around the edges, and fails the 300 DPI clarity requirement. Real Cause: One parent took the photo and texted it to the other via SMS or WhatsApp before uploading it to the passport platform. Messaging apps compress image files to save bandwidth, stripping away the resolution necessary for a clean print. Fix: Always upload the original file directly from the device that captured it. If you must transfer it, use an uncompressed method like AirDrop or a cloud drive link.
The millimeter margin error
Symptom: The 2x2 inch photo is printed perfectly clear, but the clerk measures the head size with a plastic template and declares it too small. Real Cause: The pharmacy kiosk auto-corrected the print scale. The digital file was generated correctly, but the physical machine shrank the image to add a white bleed margin. Fix: Reprint the file, but navigate into the kiosk's advanced settings. Turn off all "auto-enhance," "smart fit," or "borderless adjustment" features. Print at exactly 100% original scale.
FAQ
Can I use a flash to eliminate shadows on the baby's face?
You should never use a smartphone's built-in flash for passport photography. A direct, on-axis flash creates a harsh red-eye effect by illuminating the retina, which instantly invalidates the photo. Furthermore, a flash casts a sharp, distinct drop shadow immediately behind the subject's head, which confuses background replacement algorithms. Always rely on diffuse, indirect window light.
Do infants need to have their eyes fully open for the picture?
For newborns and infants under twelve months old, most international passport agencies provide a slight leniency regarding open eyes. While fully open, forward-looking eyes are preferred, a photo of a sleeping newborn with partially or completely closed eyes is generally accepted by the US Department of State. However, toddlers and older children must have their eyes entirely open and looking straight at the lens.
Can I print the final template on standard A4 office paper?
No. Government regulations strictly prohibit printing biometric photographs on matte, standard-weight printer paper. The final image must be printed on dedicated, photo-quality glossy or matte photographic paper. Standard office paper absorbs ink unevenly, causing the facial details to bleed and lose the sharp edge definition required for digital scanning.
What if the background removal tool cuts off a portion of my child’s hair?
Algorithmic clipping usually occurs when the child's hair color closely matches the background, or when the hair is out of focus due to depth-of-field blur. If the software removes a visible chunk of hair, do not attempt to draw it back in using editing software. Digital manipulation is strictly prohibited. You must move to a location with a highly contrasting background and ensure the camera focus is locked directly on the child's eyes before retaking the shot.