How to Get a Digital Passport Photo for Online Renewal in 2026
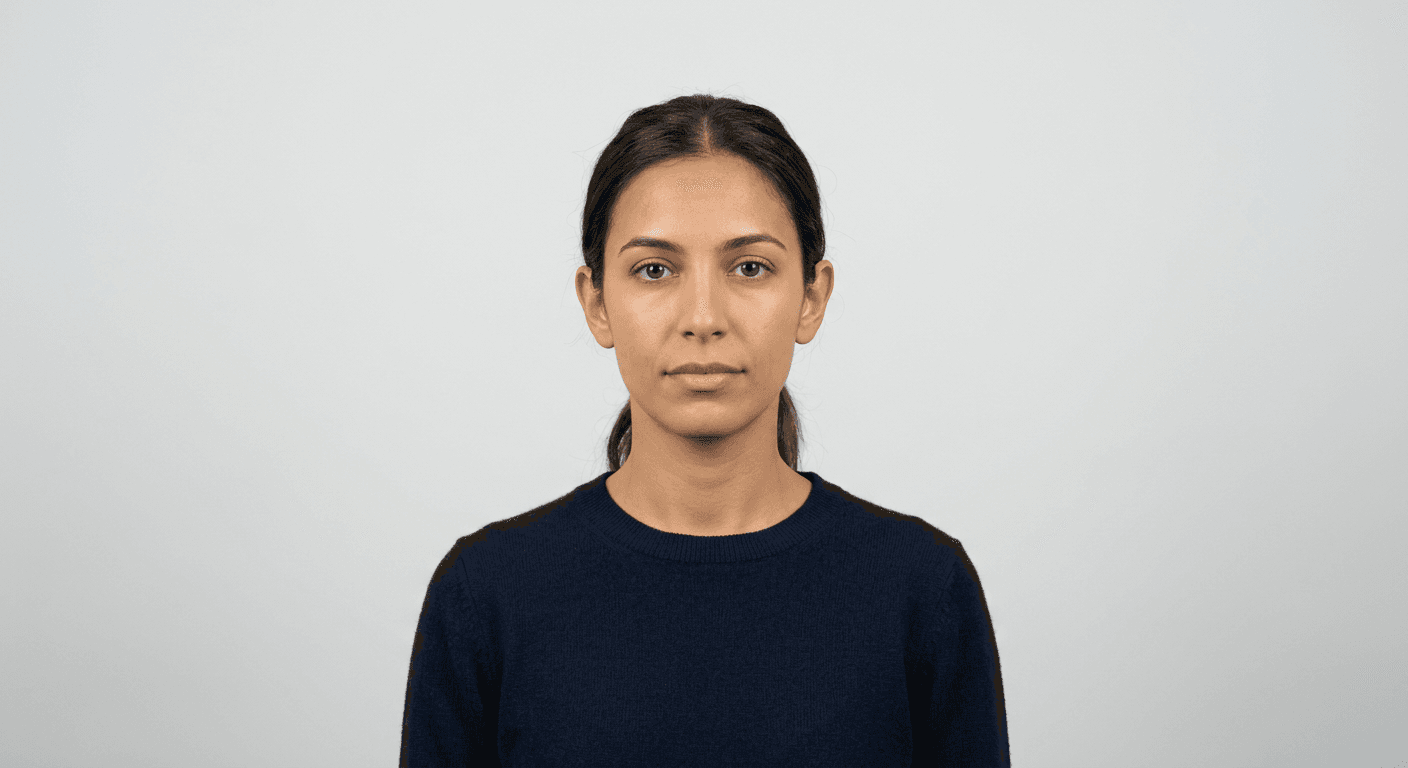
Obtaining a digital passport photo is the first step in streamlining your travel document application. With more governments shifting toward paperless or hybrid processing, knowing how to capture, format, and prepare a digital passport photo has become a critical skill for any traveler. Unlike traditional printed versions, these files must meet specific electronic standards regarding resolution, pixel dimensions, and metadata accuracy to ensure they are accepted by automated systems.

Quick Summary
A digital passport photo is a high-resolution image file that adheres to strict government-mandated dimensions, lighting, and composition standards for online identity verification. To obtain one, you must ensure consistent lighting, neutral background, and precise head-size proportions before processing the file to meet specific international biometric requirements.
- Ensure even lighting without shadows on the face or background.
- Maintain a neutral expression with eyes fully open and visible.
- Verify pixel dimensions and file size before submission.
- Use a plain, off-white, or light-gray backdrop for maximum contrast.
Table of Contents
- Understanding Digital Passport Photo Requirements
- Step-by-Step: Capturing Your Photo at Home
- Formatting and Optimization Techniques
- Common Pitfalls and Troubleshooting
- Frequently Asked Questions
- Recommended Reads
Understanding Digital Passport Photo Requirements
Government agencies enforce rigorous digital passport photo requirements to facilitate facial recognition software and human verification. A standard image is not merely a high-quality portrait; it is a biometric document that must follow specific geometric rules. Generally, the head must occupy a set percentage of the image height, typically between 50% and 70%, and the background must be a solid, non-textured light color.
Beyond composition, technical specifications such as resolution and file format are non-negotiable. Most agencies require a resolution of at least 300 pixels per inch (DPI) to ensure that fine details, such as hair texture and skin tone, remain clear when viewed on high-definition screens. Relying on an AI passport photo maker can help bridge the gap between a standard smartphone image and these technical benchmarks, ensuring that common errors like barrel distortion or improper cropping are avoided.
Step-by-Step: Capturing Your Photo at Home
Getting a digital passport photo effectively requires a controlled environment. Follow these steps to ensure your initial capture is high enough quality for digital submission:
- Find Consistent Lighting: Stand facing a window during the day to allow soft, natural light to illuminate your face evenly. Avoid overhead lights, which create dark shadows under the eyes and chin.
- Prepare the Background: Find a plain, light-colored wall. If you cannot find a perfectly blank wall, ensure there are no wall hangings, outlet covers, or shadows cast on the backdrop.
- Set Up the Camera: Use the rear-facing camera of your smartphone, which usually offers higher resolution than the front-facing "selfie" lens. Position the camera at eye level, roughly 4 to 5 feet away from your subject.
- Adopt the Correct Posture: Stand straight, shoulders squared, and look directly into the lens. Your head must be centered in the frame, with no tilting. Ensure your expression is neutral - no smiling or frowning - and keep your mouth closed.
- Check for Obstructions: Ensure no hair falls over your eyes, and remove glasses unless you have a documented medical exemption.
Pro Tip: If you are photographing an infant, consider placing them on a plain white sheet on the floor while you stand directly above them to capture a centered, top-down image. For more guidance, you can review specific infant visa photos to see how composition changes for different age groups.
Formatting and Optimization Techniques
Once you have your raw image, the next phase is formatting it to meet the digital copy of passport photo standards. This often involves precise cropping to ensure the eye level falls within the required vertical range specified by the issuing authority. Digital files also need to adhere to specific file size limitations, usually under 240KB or 5MB depending on the specific government portal, to ensure they can be uploaded successfully.
After cropping, review the metadata of your image. Some portals may flag images if the EXIF data reveals an incorrect orientation or device information, though this is rare. The most important aspect remains the visual compliance; if the software detects an uneven background or inconsistent lighting, the upload will be rejected immediately. Using a dedicated biometric photo generation tool can automate the cropping and background removal, saving you from trial-and-error corrections during the application process.
Common Pitfalls and Troubleshooting
The most frequent cause for rejection during digital passport renewal is poor lighting, specifically shadows that interfere with facial recognition. Even a small shadow on one side of the face can lead to an automated system rejection. If your upload is declined, verify that your brightness levels are balanced and that your image does not have a "filter" applied, as most official systems reject images that look digitally altered or blurred.
Another common issue involves resolution. Taking a screenshot of an image or cropping a low-resolution thumbnail will result in a "pixelated" appearance that fails to meet the 300 DPI threshold. Always use the original source file created by your camera. If you find your photos consistently rejected, check if the government compliant photos requirements for your specific country changed recently, as file format and size standards are subject to periodic updates.
Frequently Asked Questions
Can I use a selfie for my digital passport photo? It is strongly discouraged. Selfies usually result in unnatural head positioning and lens distortion because the camera is held too close to the face. Always use the rear camera and have someone else take the photo for you.
What file format should my digital passport photo be? Most government agencies require a JPEG (.jpg) file format. Ensure the file is not compressed to the point where image quality degrades.
Do I need to wear specific clothing? Wear normal street attire. Avoid uniforms, camouflage clothing, or hats unless worn for religious or medical reasons. Ensure your outfit contrasts well against your light background.
Why was my photo rejected even though it looked clear? Rejections are often due to "invisible" issues like a slightly tilted head, poor pixel dimensions, or shadows. Review the specific geometry requirements provided by your passport agency, such as the exact distance from the top of the head to the chin.