How to Prepare a Digital Passport Photo for Online Applications in 2026
The defining moment of modern travel documentation often comes down to a red error message on a government upload portal. Applicants spend hours capturing what looks like a perfect picture, hit the submit button, and watch the system instantly reject the file with a cryptic warning about "biometric markers obscured" or "invalid background contrast." The most common assumption applicants make when switching to online portals is that a digital file is just a scanned copy of a physical print. In reality, scanning a printed photo introduces paper texture artifacts, DPI degradation, and color shifts that instantly fail automated biometric checks. As more nations transition to fully digital application systems in 2026, the file you upload is analyzed directly by algorithms measuring pixel-to-face ratios, background hex codes, and compression artifacts. If you do not construct the image digitally from the moment of capture, no amount of cropping or post-processing will save it from rejection.
Quick Summary
Getting a digital passport photo ready for online submission requires capturing a high-resolution, unedited image with flat lighting and processing it to meet strict digital biometric standards. Rather than scanning physical prints, modern applicants must generate raw image files that satisfy specific pixel dimensions, compression limits, and facial geometry ratios required by government algorithms.
- Capture original images using a standard focal length without applying digital zoom or smartphone portrait mode blur.
- Eliminate background shadows and verify uniform, diffuse lighting across the subject's face.
- Format the final file to the exact pixel dimensions and DPI mandated by the destination country's portal.
- Use automated tools to strip backgrounds cleanly without altering the subject's natural biometric silhouette.
Table of Contents
- 1. Understand What Makes a Compliant File
- 2. Prepare the Environment and Lighting
- 3. Position the Subject Correctly
- 4. Capture and Process the Image
- 5. Verify Biometrics and File Specifications
- Common Pitfalls & Troubleshooting
- FAQ
- Recommended Reads
1. Understand What Makes a Compliant File
What exactly makes a digital passport photo compliant? You must look past the visual composition. Examine the file metadata instead. A compliant digital photo is a high-resolution image file. It is almost universally a JPEG. The file must conform to precise byte size, compression ratio, and pixel dimension rules set by the issuing authority. For example, the United States requires digital uploads to be strictly square. These images must measure between 600 by 600 pixels and 1200 by 1200 pixels. Maintaining the standard sRGB color space is also required.
The mechanism behind these rules is automated processing. Passport offices run uploads through facial recognition algorithms that require uncorrupted pixel data to map biometric markers like the distance between the pupils and the curvature of the jawline. If the underlying data is compressed, those markers become mathematically muddy.
Applicants often make a specific mistake here. They transfer the image from their camera to their computer via messaging apps or email clients. These services automatically compress attachments. An image sent through WhatsApp or iMessage undergoes a block-based discrete cosine transform compression. This process strips metadata. It introduces JPEG artifacting around the high-contrast edges of the face. This causes the government's upload portal to reject the file instantly for low resolution or tampering. Rejection occurs even if the image looks perfectly fine to the human eye on a mobile screen. Always transfer files via direct cable connection, Airdrop, or cloud storage platforms. These options explicitly preserve the original quality and uncompressed file size.
2. Prepare the Environment and Lighting
Government algorithms require a clear, mathematically sharp separation between the subject and the background, which makes lighting the single most critical environmental factor when setting up your shot. The mechanics of compliant lighting dictate that the face must be evenly illuminated from both sides to eliminate shadows under the nose, chin, and eye sockets, while the background must remain uniformly bright so no drop shadows appear behind the ears or shoulders. This requires diffuse, natural light facing the subject rather than directional spotlights.
The mistake people actually make here is relying on a single overhead room light or standing too close to a window on a brightly sunny day. Overhead incandescent lighting casts harsh shadows in the eye sockets, which routinely triggers an automated rejection for "obscured eyes" because the algorithm cannot detect the iris. Furthermore, mixing warm indoor bulbs with cool window daylight causes the camera's auto-white balance to fail, resulting in unnatural skin tones.
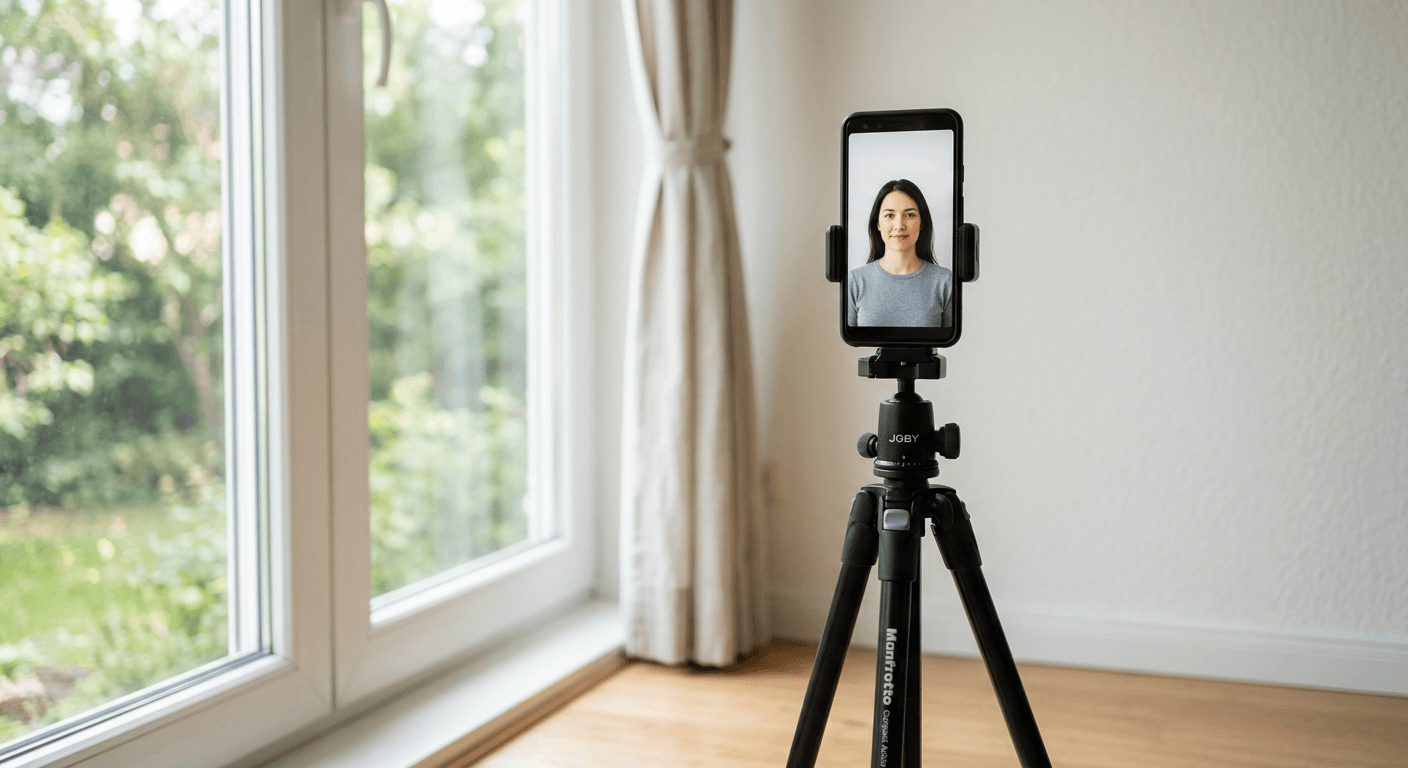
To prevent this, position the subject facing a large window that provides indirect, overcast daylight. Turn off all artificial room lights to ensure a single color temperature. Ensure the subject steps at least three feet away from the back wall to let light fall freely behind them. This physical separation prevents harsh drop shadows from clinging to the wall and gives automated background-removal algorithms a highly defined edge to detect when you format the image later.
3. Position the Subject Correctly
Biometric mapping relies on fixed ratios between facial features, meaning the physical alignment of the subject relative to the camera lens must be perfectly parallel. When generating a digital photo for passport renewal, the system will actively compare the new upload against previous biometric data stored in government databases. If the head is tilted on any axis - pitch, yaw, or roll - the relative distance between the eyes, nose, and chin appears artificially skewed, causing a biometric mismatch.
The subject must maintain a neutral expression with eyes fully open and mouth closed. Smiling changes the shape of the cheeks, narrows the eyelids, and alters the baseline geometry of the face, fundamentally disrupting the algorithm's anchor points.
The recurring mistake applicants make is having a taller person photograph a shorter person by pointing the smartphone downward. This introduces severe perspective distortion, making the forehead appear artificially large and the chin disproportionately small.
Practical rule: Place the camera lens exactly at the subject's eye level, perfectly parallel to their face, rather than tilting the device forward or backward to fit them in the frame.
For infants and young children, who lack the neck strength to sit upright, laying them flat on a plain white sheet and photographing from directly above maintains this necessary parallel alignment. By standing over them and shooting straight down, you preserve the precise facial geometry required without forcing the child to hold an impossible pose.
4. Capture and Process the Image
Capturing the raw image is only the halfway point. The file must be processed to meet strict government dimensional requirements without violating absolute prohibitions against digital alteration. Passport agencies strictly forbid "photoshopping" or manually altering the subject's appearance, which includes skin smoothing, red-eye removal, and manual clone-stamping of the background. However, using software to simply crop the image to the correct head-to-chin ratio or replace a cluttered background with a pure white digital canvas is standard practice, provided the tool does not alter the natural silhouette.
The catastrophic mistake users make during capture is activating their smartphone's "Portrait Mode." This feature uses software to artificially blur the background, heavily degrading the sharp edge of the subject's hair and shoulders. Government portals interpret this artificially blurred boundary as prohibited image manipulation and reject the file outright. Instead, take a standard, sharply focused photograph using the primary lens.
After capture, avoid manual desktop editing. Rely on specialized AI formatting software that cleanly extracts the subject from the background by detecting high-frequency contrast boundaries. By letting an automated system handle the cropping, you avoid the manual errors that occur when trying to measure head proportions visually on a screen. Those seeking a digital copy of passport photo files for complex international standards often find that an automated tool completely removes the friction of calculating pixel conversions. Using a specialized United States baby passport photo guide can provide further parameters on framing without triggering manipulation filters.
5. Verify Biometrics and File Specifications
The final stage before uploading to a government portal involves strict technical validation of the file properties. Every country dictates highly distinct specifications for pixel dimensions, physical aspect ratios, file formats, and maximum byte sizes. For instance, while the US demands a 1:1 square ratio, European Schengen countries require a vertical 35x45mm dimension where the face occupies exactly 70 to 80 percent of the vertical frame.
The mechanics of getting a digital passport photo approved rely entirely on passing these initial automated portal checks before a human clerk ever views the image. The exact mistake applicants make here is assuming all passport systems worldwide accept the standard American square crop. Uploading a square file into a portal designed for a European vertical rectangle causes the system backend to stretch or compress the image to fit the container. This ruins the biometric proportions and triggers an immediate rejection error.
You must verify the final JPEG export against the specific portal's file size limits. Ensure it is saved strictly in the sRGB color space, is completely free from digital watermarks, and is cropped exactly to the destination country's mandated aspect ratio. If the generated file exceeds the maximum megabyte limit of the portal, use a dedicated, lossless image compressor that retains pixel dimensions while reducing byte size, rather than resizing the actual image dimensions downwards.
Common Pitfalls & Troubleshooting
Even with careful preparation, upload portals frequently reject images. Understanding the exact mechanical failure behind an error message prevents you from endlessly retaking a photo when the issue lies in the file data.
The "Resolution Too Low" Upload Error
Symptom: The portal rejects a seemingly crystal-clear file, stating the DPI or resolution is insufficient. Diagnosis & Fix: The physical camera took a sharp photo, but the transfer method ruined it. If you sent the photo from your phone to your computer via email (selecting "small" or "medium" size) or a messaging app, the platform compressed the file and stripped the pixel density. The fix is to transfer the original file via a USB cable or a cloud storage link, ensuring the JPEG remains above the minimum 600x600 pixel threshold.
The "Background Not Uniform" Rejection
Symptom: The system detects irregularities, shadows, or textures behind the applicant's head. Diagnosis & Fix: Standing too close to a wall casts a harsh drop shadow behind the neck, or the wall itself has a visible texture (like wood grain or wallpaper). The most effective fix is running the raw image through an AI background removal tool that replaces the environment with a pure, uniform hex-code white or off-white backdrop, rather than trying to manually erase the shadows in photo editing software.
The "Head Proportion Incorrect" Warning
Symptom: The applicant's head takes up too much or too little of the digital frame, violating the required face-to-image ratio. Diagnosis & Fix: The photo was cropped incorrectly before upload. Different countries have distinct rules for where the chin and crown of the head must sit within the frame. For example, if you are applying internationally, referring to a United Kingdom baby passport photo guide will show that the head must measure precisely between 29mm and 34mm high. Recrop the original, unedited raw file using an automated measurement tool to fit the exact national template.
The "Color Space / Format Invalid" Error
Symptom: The portal refuses to accept the file at all, often spinning indefinitely or displaying an invalid format text string. Diagnosis & Fix: Modern iPhones natively shoot in the HEIC format to save storage space, while portals only accept legacy JPEG files. Additionally, if the image was saved in a CMYK color profile (used for commercial printing) rather than sRGB (used for web displays), the portal cannot read the color data. Convert the file from HEIC to JPEG on your device or computer, and ensure the export settings specifically dictate the sRGB color profile.
FAQ
Can I wear glasses in a digital passport photo? In most modern digital passport systems, including the United States, glasses are strictly prohibited. The lenses inevitably cause glare from lighting, and the physical frames obscure the edges of the eye socket, which prevents the facial recognition algorithm from successfully mapping your biometric iris data.
How recent must a digital passport photo be? Government agencies globally mandate that the photo must be taken within the last six months. This rule exists because facial weight fluctuations, aging, and structural changes alter your biometrics over time, and the upload must reflect your current, daily appearance.
Can I take my own digital passport photo with a smartphone? Yes, provided you disable all software enhancements like portrait mode or beauty filters. You must use a standard, non-wide-angle lens to prevent barrel distortion, and the final output must be precisely processed to meet strict digital formatting requirements regarding aspect ratios and background uniformity.
Why was my digital photo rejected for "unnatural skin tones"? This error occurs when using screen flash, aggressive artificial room lighting, or when the camera's white balance fails due to mixed light sources. It can also be triggered by applying social media filters. Ensure you use natural, indirect daylight to preserve true sRGB color representation of your skin.
What is the correct file format for a digital upload? JPEG is the universal standard for passport portals. Modern proprietary smartphone formats, such as HEIC or HEIF, are generally not supported by government backend systems and must be converted to standard JPEG files prior to submission.