How to Print Out a US Passport Photo at Home
You have finally captured an infant passport photo where their eyes are open, their mouth is shut, and no parent's hands are visible. The hard part feels over, until you press print. Getting the digital file right is only half the battle; printing a passport photo that a government agency will actually accept requires specific paper, exact sizing, and precise printer settings. The rejection letter usually arrives weeks later, citing "poor print quality" or "incorrect paper type," setting your travel plans back significantly.
Quick Summary
Printing a US passport photo at home requires high-quality photo paper, exact 2x2 inch dimensions, and a printer capable of producing sharp, 300 DPI images. The most common cause of rejection is printing on standard copy paper or using the wrong paper finish.
- Use high-quality, photographic paper.
- Matte or glossy finishes are generally acceptable, but check specific guidelines.
- Print at a minimum resolution of 300 DPI.
- Ensure the final cut size is exactly 2x2 inches (51x51 mm).
- Do not use standard copy paper or textured cardstock.
Table of Contents
- Select the Right Paper
- Check Your Printer Settings
- Size and Format the Image
- Print and Cut Precisely
- Common Pitfalls & Troubleshooting
- FAQ
- Recommended Reads
Select the Right Paper
The paper you choose is the foundation of a compliant passport photo. The US Department of State explicitly requires passport photos to be printed on "photo quality paper." This is not a suggestion; it is a rigid requirement. Standard printer paper, cardstock, and textured papers absorb ink differently, leading to muted colors, lost details, and a high likelihood of rejection.
When deciding between finishes, many wonder: should passport photos be glossy or matte? The US government accepts both glossy and matte photo paper, provided it is high quality. However, glossy paper often produces sharper images and deeper blacks, which can help ensure facial features are distinct. Matte paper is less prone to glare and fingerprints, making it easier to handle during the application process. The choice between matte and glossy is less critical than the requirement that it must be true photographic paper.
Practical rule: If the paper feels like something you would use to print a standard document or a school report, it is the wrong paper. It must feel like a traditional photograph.
The mistake people make here is assuming "heavyweight" paper is the same as photo paper. Heavyweight paper still absorbs ink like standard paper, resulting in a slightly blurred image that biometric scanners cannot read properly.
Check Your Printer Settings
A high-quality digital image and the correct paper will fail if your printer settings are incorrect. Most modern inkjet or color laser printers are capable of producing passport-quality photos, but they rarely do so on their default settings. The goal is to produce a sharp, color-accurate image with a minimum resolution of 300 DPI (dots per inch).
Before you hit print, navigate to your printer's properties or preferences dialog. Select the specific type of photo paper you loaded (e.g., "Glossy Photo Paper" or "Matte Photo Paper"). Change the print quality from "Standard" or "Draft" to "High" or "Best." Ensure that any "ink saving" modes are turned off. Color accuracy is crucial; the printed photo must accurately reflect your baby's true skin tone. If your printer has a "Color Management" setting, ensure it is set to let the application (or the printer) handle colors, but avoid applying vivid or unnatural color profiles.
The most common mistake in this step is leaving the printer on its default document settings. This results in a photo that is either too light, excessively grainy, or plagued by horizontal banding lines, all of which are automatic grounds for a rejected US passport photo print.
Size and Format the Image
The US passport photo print out must be exactly 2x2 inches (51x51 mm) in size. The head must measure between 1 and 1 3/8 inches (25-35 mm) from the bottom of the chin to the top of the head. When printing at home, the challenge is ensuring the digital file translates precisely to these physical dimensions on paper.
Most home printers do not automatically print images at exactly 2x2 inches. If you simply right-click an image and select "Print," the operating system will likely attempt to fill the entire page or apply margins that alter the size. To guarantee the correct dimensions, it is best to place the 2x2 inch image onto a standard 4x6 inch digital canvas before printing. You can easily fit two 2x2 inch photos side-by-side on a single 4x6 inch sheet. When you print the 4x6 image on 4x6 photo paper at 100% scale (no "fit to page" or "borderless" settings), the passport photos will emerge at their exact required size.
The mistake here is relying on the printer's "fit to media" or "borderless printing" options. These settings slightly stretch or crop the image to fill the paper edge-to-edge, which invariably alters the strict 2x2 inch dimension and head proportion requirements.
For specific dimensional guidelines regarding international requirements, you can review the United States Baby Passport Photo Guide to ensure your initial digital file is correctly proportioned before setting up the print file.
Print and Cut Precisely
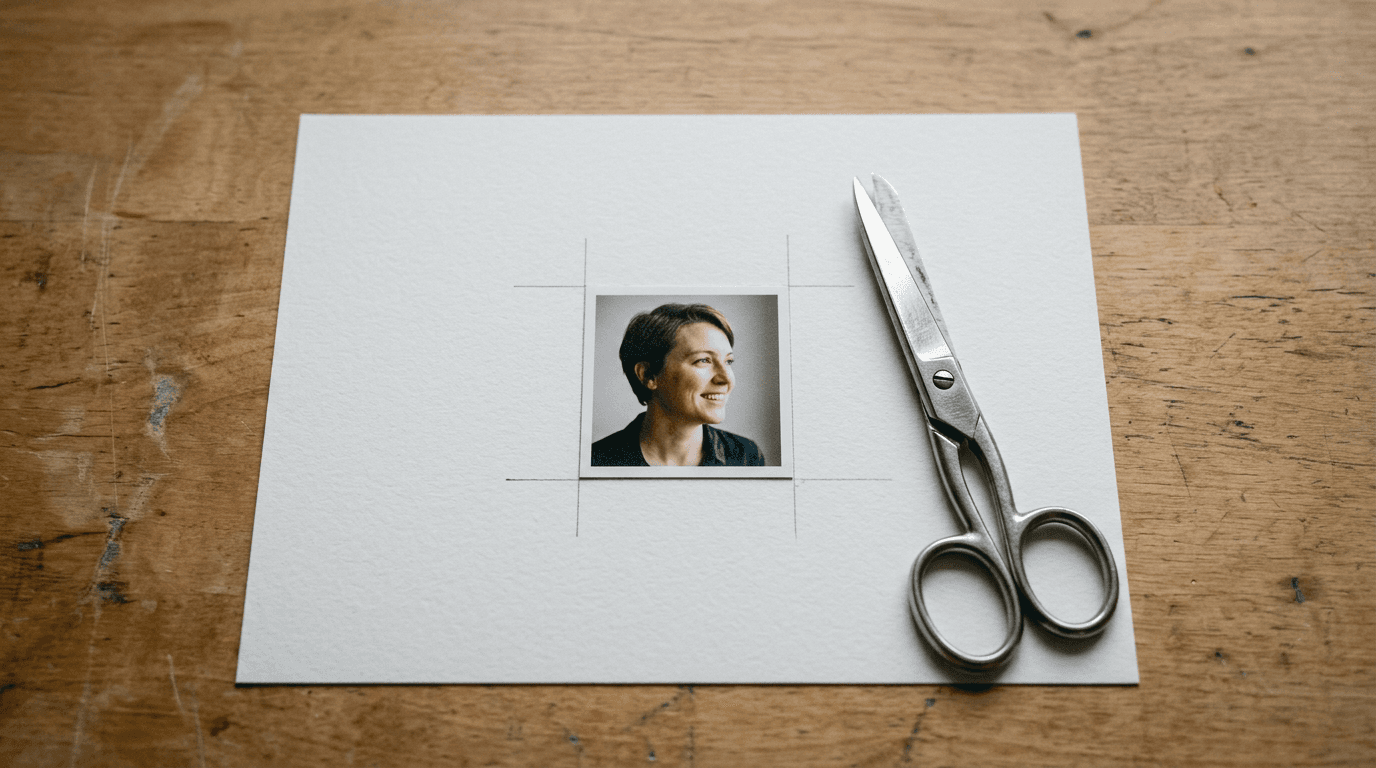
Once the photo is printed, the final hurdle is cutting it to the exact 2x2 inch square. Scissors are rarely precise enough for this task. Uneven edges, jagged cuts, or trimming too far inside the 2x2 boundary will result in rejection.

Allow the printed photo to dry completely before handling it, especially if you used an inkjet printer on glossy paper. Smudges or fingerprints on the face are unacceptable. Once dry, use a paper trimmer or a metal ruler and a sharp craft knife on a cutting mat. The cut must be clean and straight. Do not cut into the image itself; cut exactly along the 2x2 inch border.
The most frequent error is freehand cutting with dull scissors. A wavy edge or a photo that measures 1.9 inches instead of 2.0 inches is a technical failure. The acceptance facility needs straight edges to properly scan and affix the photo to the application.
If you are uncertain about the printing and cutting process, starting with a perfectly formatted digital file from US Baby Passport Photo Maker ensures the proportions are correct before you even begin the printing stage.
Common Pitfalls & Troubleshooting
The Print is Too Dark or Has Strong Shadows
Symptom: The printed photo looks significantly darker than it does on your computer monitor, or there are harsh shadows on the baby's face or the background. Diagnosis: Monitors are backlit and often appear brighter than paper. Shadows indicate poor lighting during the original photograph. Fix: Adjust the brightness of the image slightly before printing, but do not alter the contrast artificially. If shadows are baked into the digital file, you must retake the photo with even, diffuse lighting facing the subject.
The Image Has Horizontal Lines (Banding)
Symptom: Thin, regular horizontal lines appear across the printed photo. Diagnosis: This is a printer issue, not an image file problem. It usually indicates clogged printhead nozzles or a low ink cartridge. Fix: Run your printer's "Printhead Cleaning" or "Nozzle Check" utility. If the issue persists, replace the ink cartridges. Do not submit a banded photo; it will fail the biometric scan.
The Photo is Blurry or Pixelated
Symptom: The facial features lack sharpness, or you can see individual square pixels in the print. Diagnosis: The digital image resolution is too low (under 300 DPI), or the printer is set to a low-quality draft mode. Fix: Verify the source file is at least 600x600 pixels. Ensure the printer settings are configured for "High" or "Best" quality on photo paper. This is the most common reason for rejection, so always verify the source file's resolution.
The Colors Look Unnatural
Symptom: The skin tones appear overly red, yellow, or blue, or the white background has a distinct color tint. Diagnosis: Incorrect printer color management or using a paper type that does not match the printer setting. Fix: Ensure you have selected the correct paper profile in the printer settings. If the background was not pure white to begin with, the printer will reproduce the off-white tint.
FAQ
Can I print my passport photo on regular printer paper?
No. The US Department of State requires photos to be printed on high-quality photographic paper. Standard printer paper will be rejected.
Should passport photos be glossy or matte?
Both glossy and matte photo paper are acceptable for US passport photos. The finish is less important than ensuring the paper is true photographic quality and the print is sharp and clear.
What size does the photo need to be?
The final printed and cut photo must be exactly 2x2 inches (51x51 mm).
Do I need a special printer for passport photos?
A standard home inkjet or color laser printer is sufficient, provided it can print at a minimum resolution of 300 DPI and is loaded with high-quality photo paper and adequate ink.