How to Properly Manage Your Passport Photo Print Out for 2026
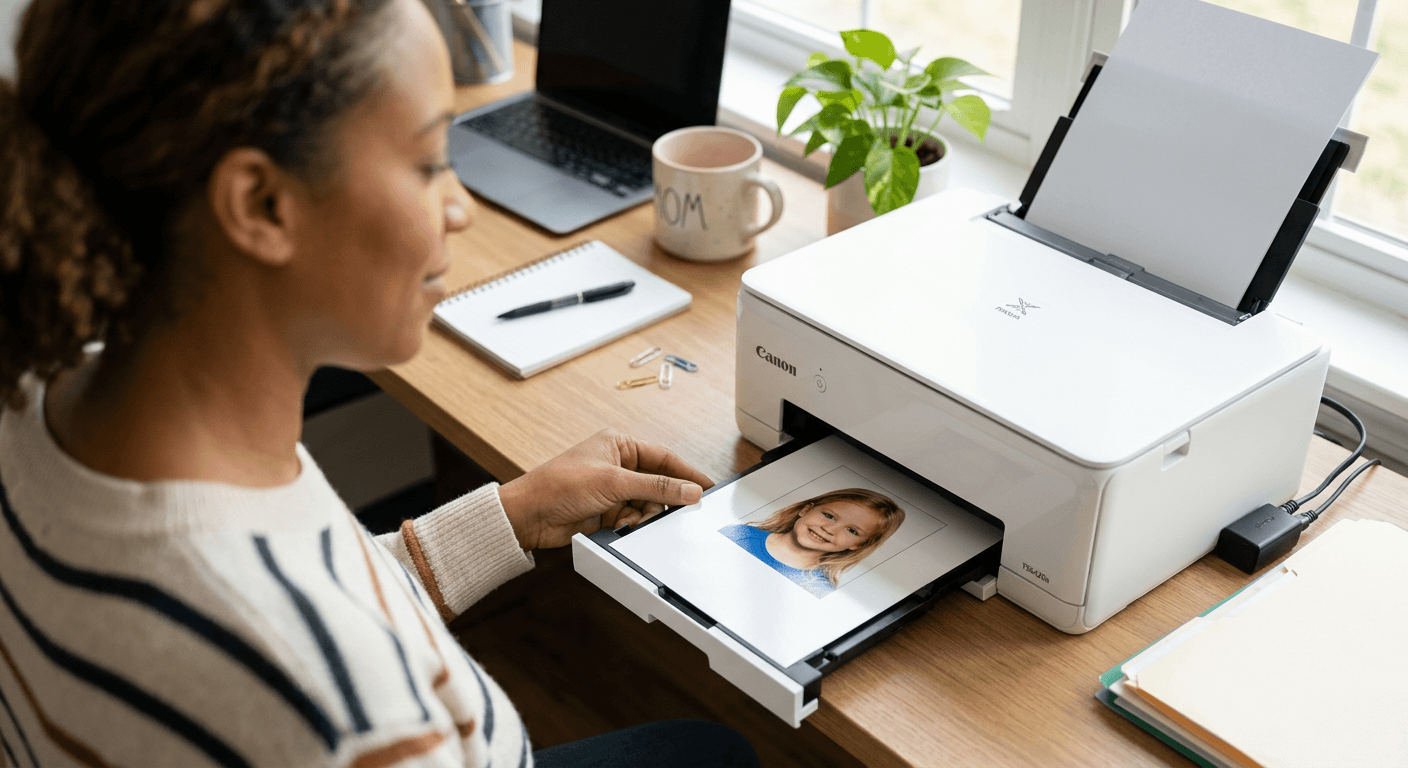
Obtaining a valid passport photo requires strict adherence to government standards regarding lighting, head positioning, and image quality. Whether you choose to prepare your file at home or utilize a professional print-on-demand service, the final physical output must meet exact biometric requirements to avoid rejection during your application process.
Quick Summary
A professional-grade passport photo print out must be clear, high-resolution, and printed on high-quality matte or glossy photo paper. Achieving this requires correct sizing, a plain white background, and neutral facial expressions to ensure your document passes stringent government verification scanners.
- Ensure the image features a plain white background passport photo online.
- Use high-quality photo paper for the best results.
- Double-check dimensions before sending to your printer.
- Maintain correct head proportions to meet official guidelines.
Table of Contents
- Understanding Passport Photo Requirements
- Preparing Your Digital File
- Best Practices for Printing at Home
- Utilizing Professional Print-on-Demand Services
- Common Pitfalls & Troubleshooting
- FAQ
- Recommended Reads
Understanding Passport Photo Requirements
Government agencies enforce precise regulations to ensure that a biometric photo can be processed by facial recognition systems. The most common requirement for a US passport photo print is a 2-inch by 2-inch square. The head must occupy a specific portion of the frame, usually between 1 inch and 1 3/8 inches from the bottom of the chin to the top of the head. Any deviation from these metrics can result in immediate rejection, regardless of how clear the image appears to the human eye.
Beyond dimensions, lighting and background composition are non-negotiable. You must ensure a consistent white background passport photo online, which means no shadows, no texture, and no objects visible behind the subject. For infants and children, this is particularly challenging. If you are struggling with these specific constraints, referring to a dedicated United States Baby Passport Photo Guide can provide the necessary context to ensure compliance before you attempt to print your final image.
Preparing Your Digital File
Before you print, your digital file must be processed correctly. Simply taking a high-resolution photo with a smartphone is not enough; you must use software to normalize the head size and lighting. Most government agencies require a resolution of at least 300 DPI to ensure the image does not pixelate when scanned into their systems. If your file is too low-quality, the printer may struggle to render the fine details required for facial recognition.
When you make passport files ready for printing, ensure the exposure is balanced. Overexposure can wash out features, while underexposure can create artificial shadows that the government’s automated software might interpret as objects or obstructions. Always save your file in a standard format, such as JPEG, and avoid excessive compression that degrades image quality.
Best Practices for Printing at Home
If you have a high-quality inkjet or laser printer at home, you can produce compliant photos, but the hardware matters. Use dedicated photo paper rather than standard office paper. Standard printer paper is too thin and porous; it absorbs ink in a way that creates a dull, low-contrast image that does not pass the necessary checks. Professional photo paper allows for the crisp detail required for biometric data.
Pro Tip: Disable all automatic image enhancements or "photo fix" features in your printer software. These tools often adjust contrast or color saturation in ways that violate official passport photo standards.
Ensure your printer is calibrated to print at the actual size. Often, printing software will automatically "scale to fit," which subtly distorts the image dimensions. Always check the final print against a ruler to confirm the 2-inch by 2-inch requirement before submitting the photo with your application.
Utilizing Professional Print-on-Demand Services
If you lack professional-grade printing equipment, local retail print centers or dedicated photo kiosks are a reliable alternative. When using these services, you are typically uploading a digital file to a self-service machine or website. The advantage here is the use of industrial-grade printers designed for archival-quality photo prints, which are far more resistant to fading or water damage than home-printed versions.
When you use these services, the most common mistake is failing to verify the layout before hitting print. Ensure your file is saved as a 4-inch by 6-inch print containing your specific photo size, as this is the standard size for most self-service kiosks. Many kiosks will offer a "passport photo" setting; if you use this, ensure the kiosk is not adding borders or watermarks, as any markings outside the white background area will lead to rejection.
Common Pitfalls & Troubleshooting {#common-pitfalls-&-troubleshooting}
One of the most frequent reasons for rejection is the presence of reflections. If you are wearing glasses, the flash or ambient light can create a glare on the lens that obscures your eyes. It is highly recommended to remove eyeglasses entirely for your passport photo. Additionally, ensure the subject's clothing does not blend into the white background, which can cause issues with the automated cropping tools used by government agencies.
Another issue is the improper use of digital filters. Never use skin-smoothing filters, blemish removers, or AI-generated background replacements that look artificial. Government facial recognition software is designed to detect these alterations, and any evidence of digital manipulation is a guaranteed reason for application rejection. Stick to raw, natural, and well-lit photography for the best results.
FAQ
-
Can I print my own passport photo on regular paper? No, standard copy paper is not accepted. It lacks the durability and professional finish required for official documents. Always use high-quality matte or glossy photo paper.
-
How do I ensure my head size is correct? Use an image editor or an AI-based tool to check measurements. The head should be between 1 inch and 1 3/8 inches from the chin to the top of the hair.
-
Are digital filters allowed on passport photos? Absolutely not. Any image enhancement that alters your natural features or adds artificial smoothing is strictly prohibited.
-
Does the background have to be pure white? Yes, most countries require a plain, uniform white or off-white background. No shadows, textures, or patterns are permitted.