How to Renew Passport Online Photo: Requirements and Pro Tips for 2026
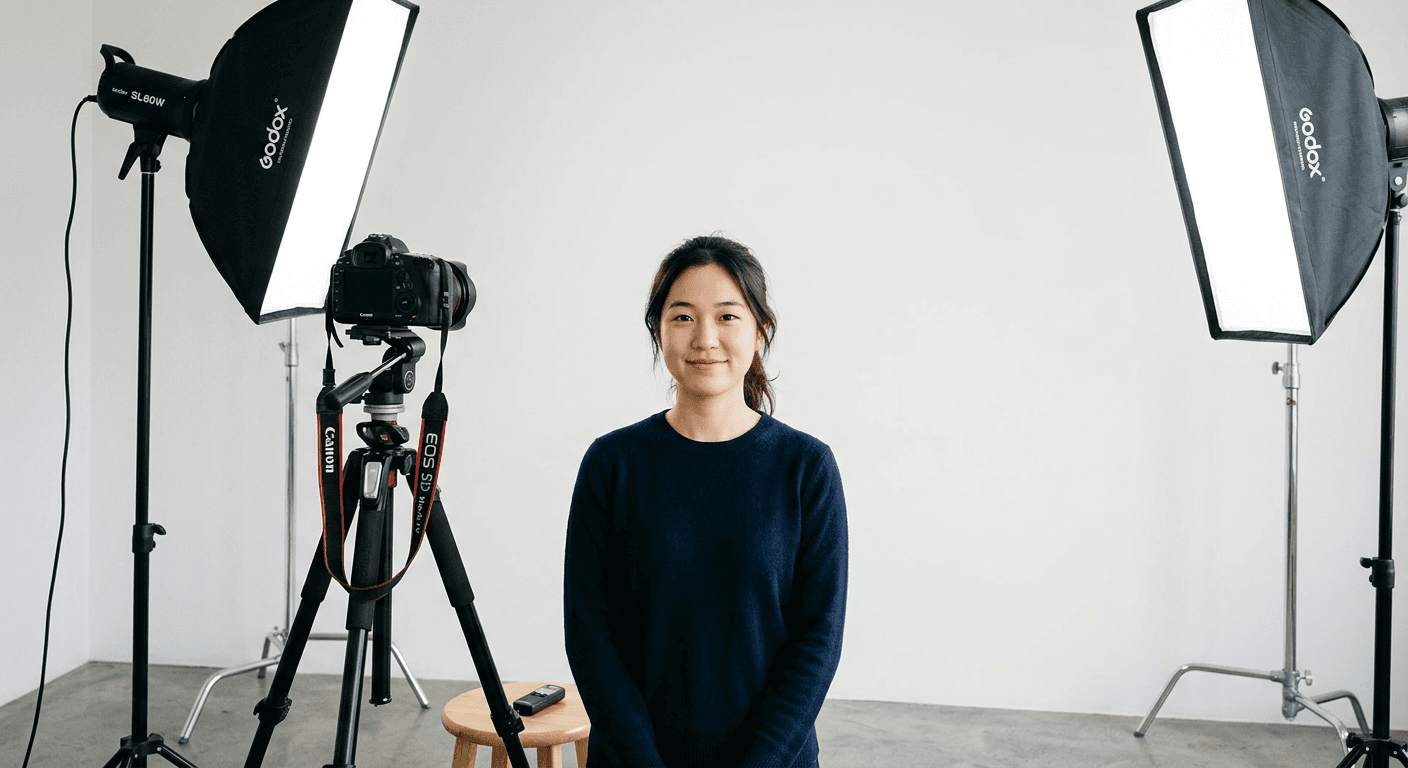
Successfully submitting a passport renewal often hinges on the quality and compliance of your digital image. When you need to renew passport online photo, you must navigate a specific set of technical standards that differ significantly from casual portrait photography. Ensuring your digital file meets these rigorous requirements is the most effective way to prevent processing delays or outright application rejection.
Quick Summary
Renewing your passport online requires a high-resolution digital image that adheres to strict biometric standards, including specific lighting, composition, and background requirements. To ensure success, you must use a neutral expression, maintain a clear, white background, and follow precise head-positioning guidelines while avoiding shadows or obstructions.
- Capture a clear, high-resolution digital image without filters.
- Ensure the background is plain white or off-white.
- Maintain a neutral expression with eyes open and visible.
- Verify file size and dimensions meet your specific government agency standards.
Table of Contents
- Understanding Passport Photo Requirements
- Step-by-Step Guide to Taking Your Passport Photo
- Formatting Your Digital Image for Online Submission
- Common Pitfalls and Troubleshooting
- FAQ
- Recommended Reads

Understanding Passport Photo Requirements
Government agencies enforce strict rules regarding the passport photo for online application submissions to ensure facial recognition software can accurately verify your identity. These requirements include a specific range for the height of the head and the distance from the bottom of the photo to the eyes. A professional-grade result is rarely about the camera equipment; it is about the geometry of the shot and the quality of the lighting.
In addition to technical proportions, the aesthetic requirements are non-negotiable. You must have a neutral facial expression with both eyes open, and you must face the camera directly. Accessories that obscure the face, such as glasses, heavy head coverings, or large jewelry, are generally prohibited. Understanding these mandates early saves time and ensures your transition from a US baby passport photo or adult image to a finalized document happens without a hitch.
Step-by-Step Guide to Taking Your Passport Photo
- Prepare the environment: Locate a plain white wall or hang a wrinkle-free white sheet. Ensure the area is evenly lit from the front, avoiding harsh overhead lights that cast deep shadows under the eyes or chin.
- Position the subject: Place yourself or the individual roughly three feet away from the wall to eliminate shadows. Use a tripod or have someone hold the camera at eye level, ensuring the camera lens remains parallel to the face.
- Frame the shot: Leave a small amount of space above the head to allow for later cropping. The subject should look directly at the lens, keeping the head straight and centered.
- Capture the image: Take several photos to ensure one is sharp, well-focused, and meets the criteria for a new passport photo. Review each attempt on a screen larger than a smartphone to check for focus issues or blurred edges.
Pro Tip: If you are struggling with home setups, exploring resources like a guide to international passport standards can provide specific advice on achieving the correct lighting balance for your region.
Formatting Your Digital Image for Online Submission
Once you have a high-quality capture, the raw file must be processed to meet the specific resolution, file size, and cropping requirements mandated by the issuing authority. Most government portals require a 2:1 aspect ratio or a specific pixel dimension (e.g., 600x600 pixels). Attempting to simply resize an image in a standard photo editor often results in pixelation or improper stretching, which is a common reason for rejection.
Properly formatting a renew passport photo involves ensuring the subject’s head occupies the correct percentage of the total image area. If the image is too zoomed out or too close, the software will flag it during the upload process. Using a dedicated AI passport photo maker can automate the background removal and ensure the head-to-chin measurements are mathematically perfect, aligning with the strict standards often required for Canada passport photo applications.
Common Pitfalls and Troubleshooting
One of the most frequent errors is the presence of reflections, particularly from eyeglasses. Even if you believe the glasses are clear, the glare often obscures the iris or pupils. It is safest to remove glasses entirely. Another common issue is the background; shadows cast onto a wall can be interpreted by automated systems as inconsistencies in the image. Always ensure the subject is far enough from the background surface to prevent any shadow interference.
If your online application returns a format error, check the file extension and metadata. Most government portals strictly accept JPEG files. If you are converting from a high-efficiency format like HEIC (common on newer smartphones), ensure the conversion process does not compress the image too aggressively, which can lead to a loss of the clarity required for biometric verification.
FAQ
Can I wear glasses in my passport photo? No. Most countries strictly prohibit glasses in passport photos to avoid glare and ensure the eyes are perfectly visible to security software.
What is the best way to get a white background at home? Use a plain white wall without any posters, decorations, or textures. If you do not have a white wall, a smooth, ironed white fabric sheet is an acceptable alternative.
Do I need a new photo for every renewal? Yes, most passport offices require a recent photo taken within the last six months to ensure the image accurately reflects your current appearance.
What happens if my photo is rejected after I upload it? If your photo is rejected during the online application process, you will typically receive an automated notification stating the specific reason, such as lighting, background, or head size. You will need to take a new photo that addresses the cited issues.