How to Resize Your Passport Size Photo for US Travel and Visa Applications
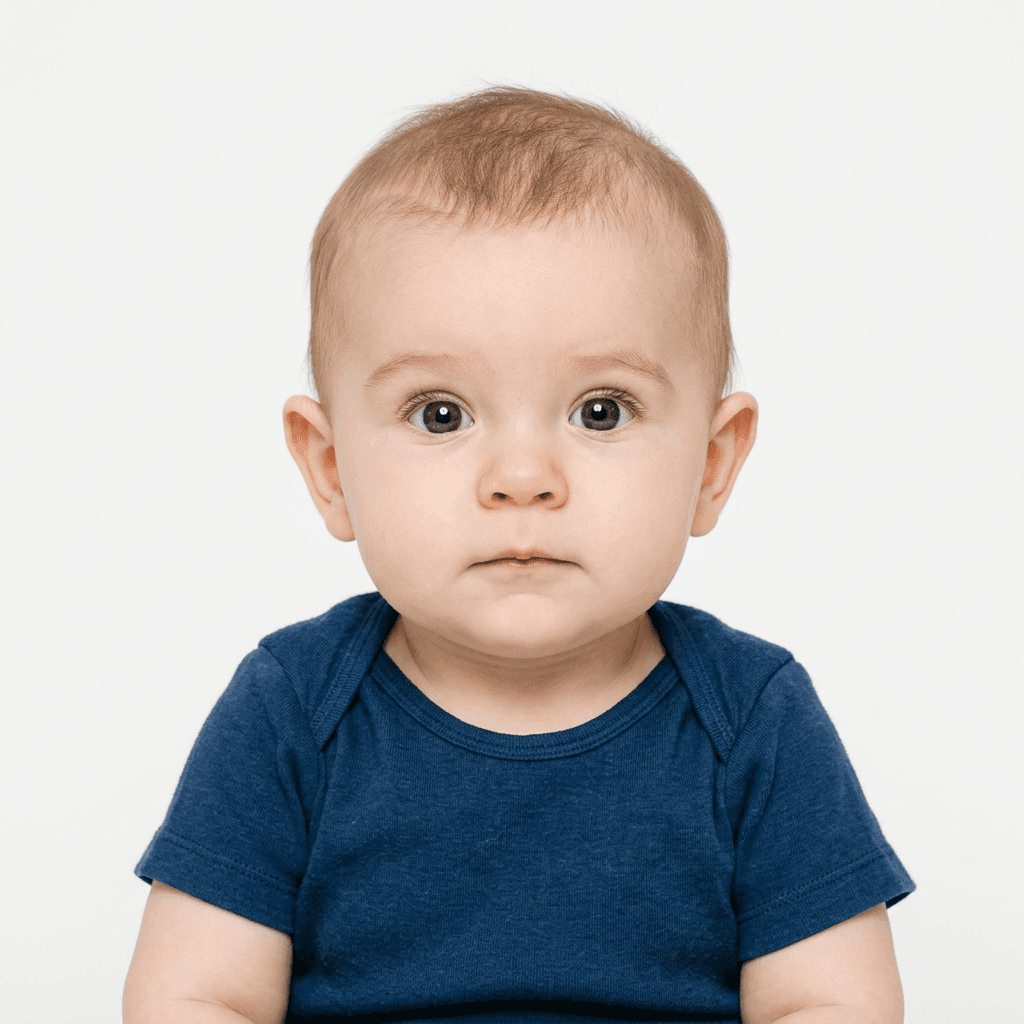
Capturing a valid passport size photo is a critical step in any international travel or visa application process. The United States Department of State maintains rigorous standards for biometric images to ensure facial recognition systems and human inspectors can verify identity without error. While many applicants head to specialized studios, understanding the precise technical requirements allows for a DIY approach that is both efficient and reliable.

Quick Summary
Resizing a passport photo requires adherence to strict dimensional and technical specifications to ensure government acceptance. A compliant US passport photo must be 2 inches by 2 inches, with the head centered and sized between 1 inch and 1.375 inches. Key takeaways include:
- Use a plain white or off-white background.
- Maintain a neutral expression with eyes open.
- Ensure the image resolution is at least 300 DPI.
- Verify that the file format is a standard, high-quality JPEG.
Table of Contents
- Understanding Passport Size Photo Dimensions
- Mastering Passport Photo Ratio Requirements
- Meeting US Passport Digital Photo Requirements
- Step-by-Step Guide to Resizing Your Image
- Common Pitfalls and Troubleshooting
- Frequently Asked Questions
- Recommended Reads
Understanding Passport Size Photo Dimensions
The foundational requirement for a US travel document is the physical size. A passport size photo must measure exactly 2 by 2 inches (51 by 51 mm). This square format is non-negotiable, and even a slight deviation can lead to immediate rejection by the processing center. When you are looking to obtain a US passport size photo online, the software must automatically enforce these dimensions.
Beyond the total paper size, the internal composition is strictly regulated. The subject must be centered within the frame. The vertical distance from the bottom of the chin to the top of the head must occupy 1 to 1 3/8 inches (25 to 35 mm) of the total height. If the head is too large or too small, the software used by federal agencies will flag the image for manual review, which frequently results in processing delays or requests for a new submission.
Mastering Passport Photo Ratio Requirements
The passport photo ratio is essential because it dictates how facial features are mapped during the scanning process. The US requirement is a 1:1 aspect ratio, as the photo must be perfectly square. When cropping an image, avoid the temptation to stretch or skew the photograph to fit these dimensions; doing so distorts the facial geometry, which can interfere with the biometric verification process.
When calculating the necessary resolution, consider that a 2-inch square at 300 DPI (dots per inch) equates to 600 by 600 pixels. This is the industry-standard minimum for a clear, printable image. Utilizing higher resolutions is acceptable, but ensure that the final file size remains manageable for electronic submission portals, which often have strict upper limits on file weight.
Meeting US Passport Digital Photo Requirements
Submitting a digital file for a visa or passport renewal involves more than just cropping. US passport digital photo requirements mandate a clear, high-quality image without shadows on the face or the background. Proper lighting is just as important as the correct dimensions. Avoid using flash directly if it creates red-eye or harsh shadows behind the ears; instead, use diffuse, front-facing light sources.
Furthermore, the background must be a uniform, light-colored, or white surface with no patterns, textures, or shadows. If you are taking a photo in a home environment, ensure you are standing at least a few feet away from the wall to prevent your own shadow from being cast into the frame. Once the image is captured, specialized tools can assist in cleaning up the background if it is not perfectly white, though it is best to aim for a clean setup from the start.
Step-by-Step Guide to Resizing Your Image
- Capture the original image: Use a smartphone camera with high resolution. Position the subject against a plain wall in a well-lit area. Ensure the head is level and looking directly at the camera.
- Transfer the file: Move the image to your computer or use a mobile-optimized web tool. Avoid using social media platforms to transfer the photo, as these services often compress the file, which reduces quality and strips metadata.
- Perform the crop: Using an image editor or a dedicated biometric photo generation tool, set your canvas to 600 by 600 pixels. Position the head so that the chin-to-crown measurement meets the specific height requirements previously discussed.
- Verify the background and lighting: Ensure the background is pure white. If there are imperfections, use background removal software to achieve a uniform look.
- Save as JPEG: Export the file as a high-quality JPEG. Avoid PNG or HEIC formats unless explicitly requested, as JPEG remains the universal standard for government submission portals.
Pro Tip: Always check your image in a dedicated preview tool that overlays the required "head zone" markers. These guides provide a visual anchor that ensures your composition remains within the strict parameters required for passport size photo dimensions for us visa applications.
Common Pitfalls and Troubleshooting
The most common error is failing to maintain a neutral expression. Many people naturally smile for photos, but the US government requires a neutral facial expression or a natural smile with both eyes open. Another frequent issue is head tilt; even a slight rotation of the head can cause the automated system to reject the photo as non-compliant.
Lighting issues often present as dark spots or shadows under the eyes or chin. If your software reports a low-quality warning, it is usually because the image is too blurry or pixelated. To avoid this, always take the photo in bright, natural, indirect daylight. If you find your photos consistently rejected, review the help section for specific guidance on common rejection reasons like head positioning or background issues.
Frequently Asked Questions
- Can I use a smartphone to take my passport photo? Yes, provided the camera quality is high enough and the lighting and composition meet the 2x2 inch requirements.
- What happens if my photo is rejected? The passport office will notify you of the specific reason for rejection, such as incorrect dimensions or shadows. You will then need to submit a new, compliant photo.
- Is there a difference between US passport and US visa photo requirements? Generally, both require the same 2x2 inch format, though some visa categories have specific nuances. Always check the official instructions for your specific visa type.
- Should I wear glasses in my passport photo? No, current US regulations strictly prohibit the wearing of eyeglasses in passport and visa photos.
- How do I ensure my head size is correct? Use a tool that provides a ruler or a mask overlay to ensure the chin-to-crown height is between 1 and 1 3/8 inches.